Forward Fuse Lower Structure
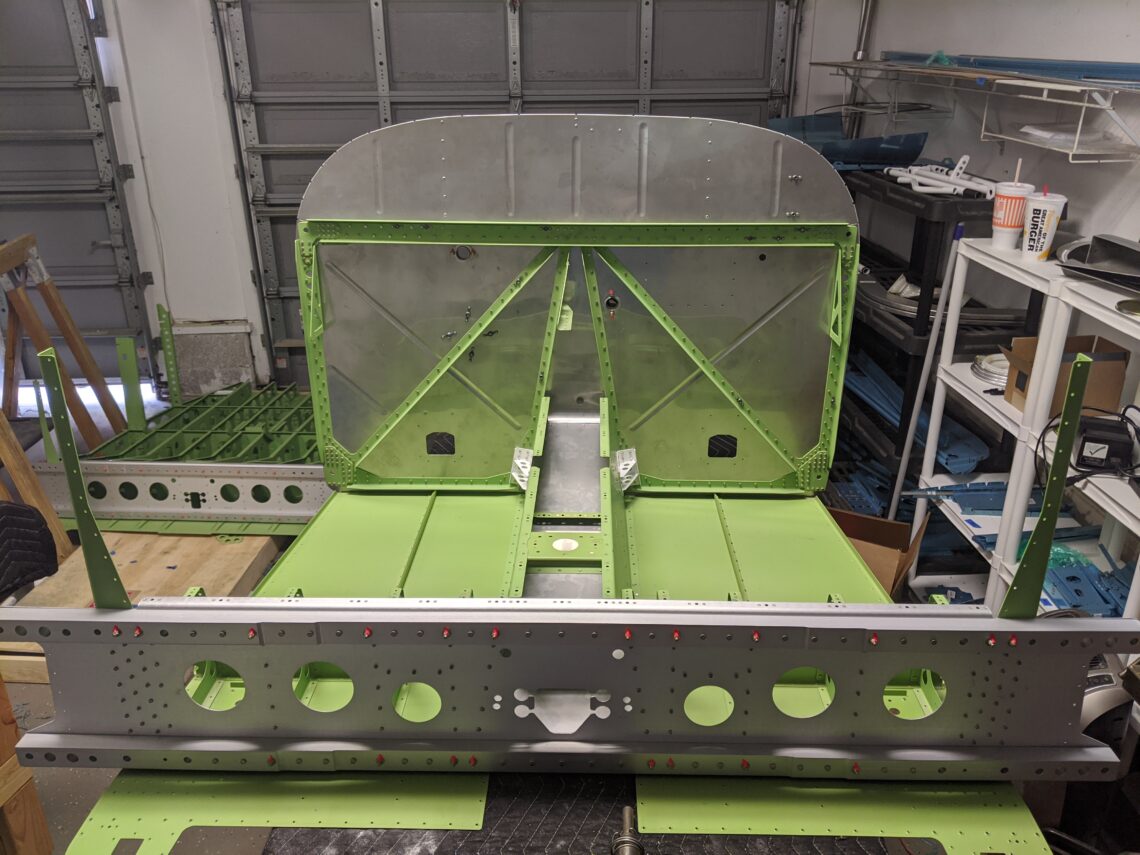
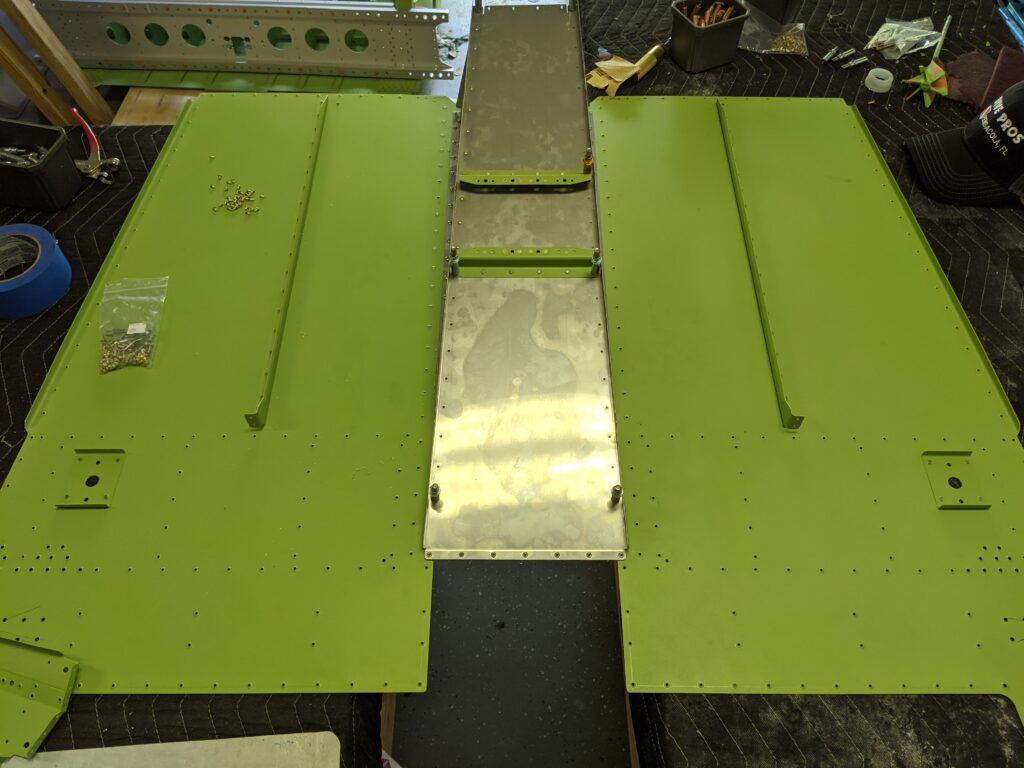
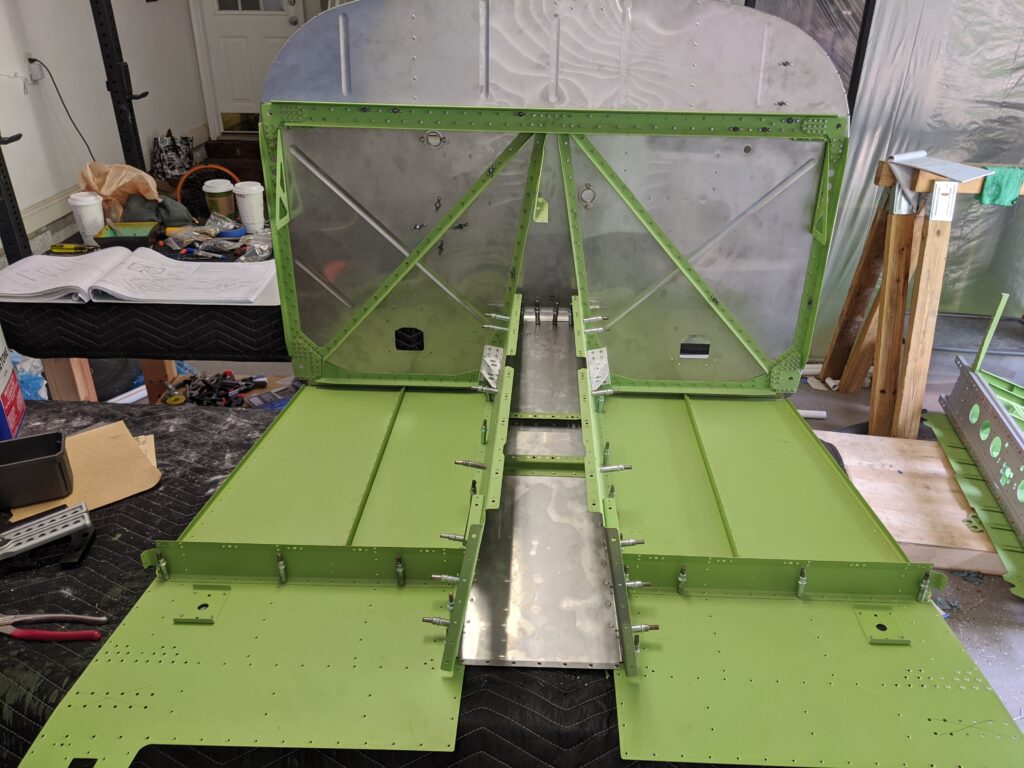
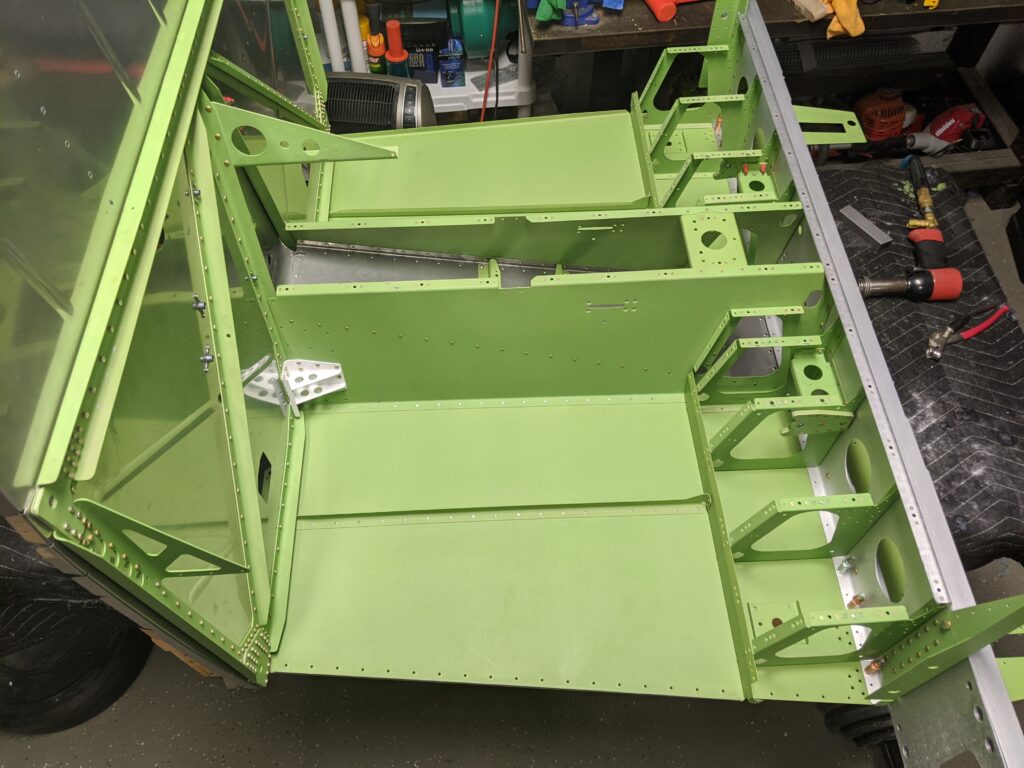
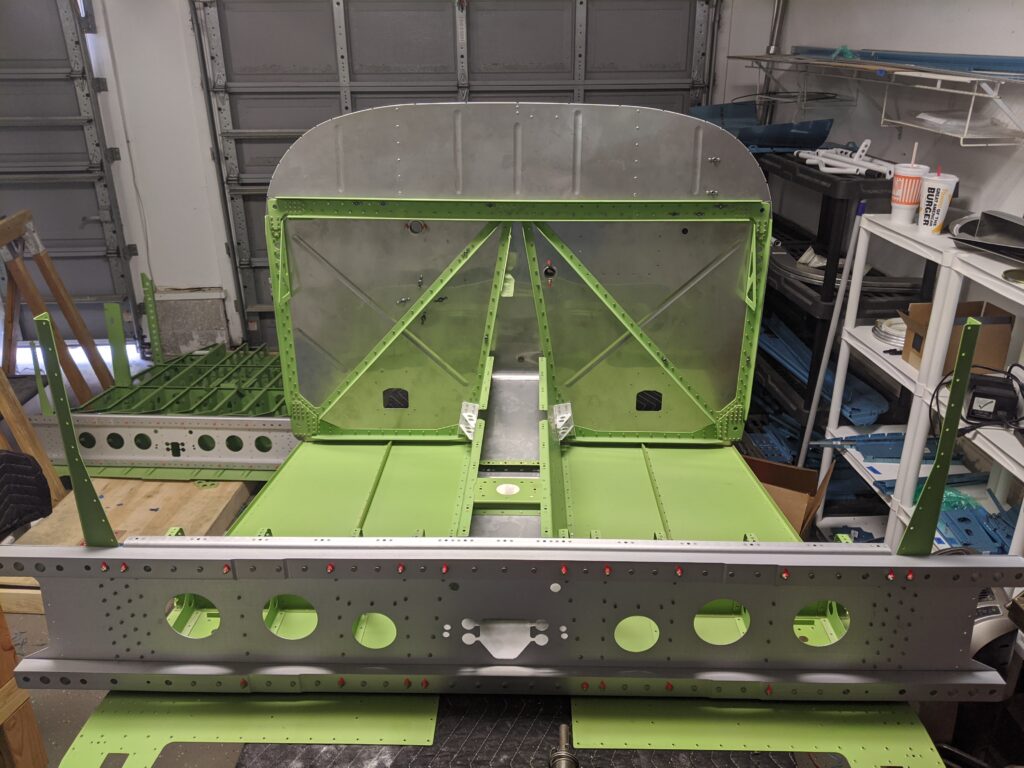
This update is all about the forward fuselage lower structure, incorrect rivet call-outs in the plans, and that friggin’ sticky tank sealant! No matter how many times I use it, or how much care I take it keeping the workspace clean, I cannot seem to leave any job involving that stuff without having sacrificed a shirt or some pants to the “work” pile of clothes.
Incorrect rivet call-outs
Apparently, the lower cowl attach plates (as seen on page 28-07) were of a lesser thickness in early kits and were thin enough to be dimpled. However, those cowl attach plates were prone to cracking and Vans starting shipping thicker attach plates (that were thick enough to require countersinking instead of dimpling), but overlooked the K1000-08D (dimpled) nutplates call-out in the plans. As of the date of my plans (05/17/16 rev. 3), the nutplate call-out should be the non-dimpled K1000-08 instead, as confirmed in this thread on Vans Air Force.
Cabin heat brackets
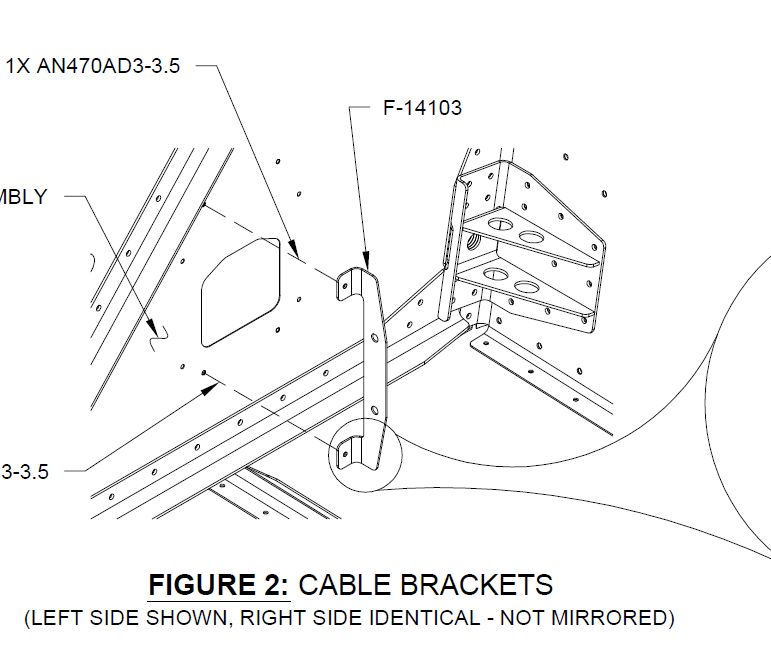
One thing to point out is the installation of the cabin heat brackets on page 28-10: make sure that they are both installed identically (i.e. on the left side of the cabin heat cutout on the firewall rather than mirrored:
Aside from working with the tank sealant and getting that stuff everywhere during the process, the only small hiccup I had was that I forgot a rivet on the engine mount on the first pass:
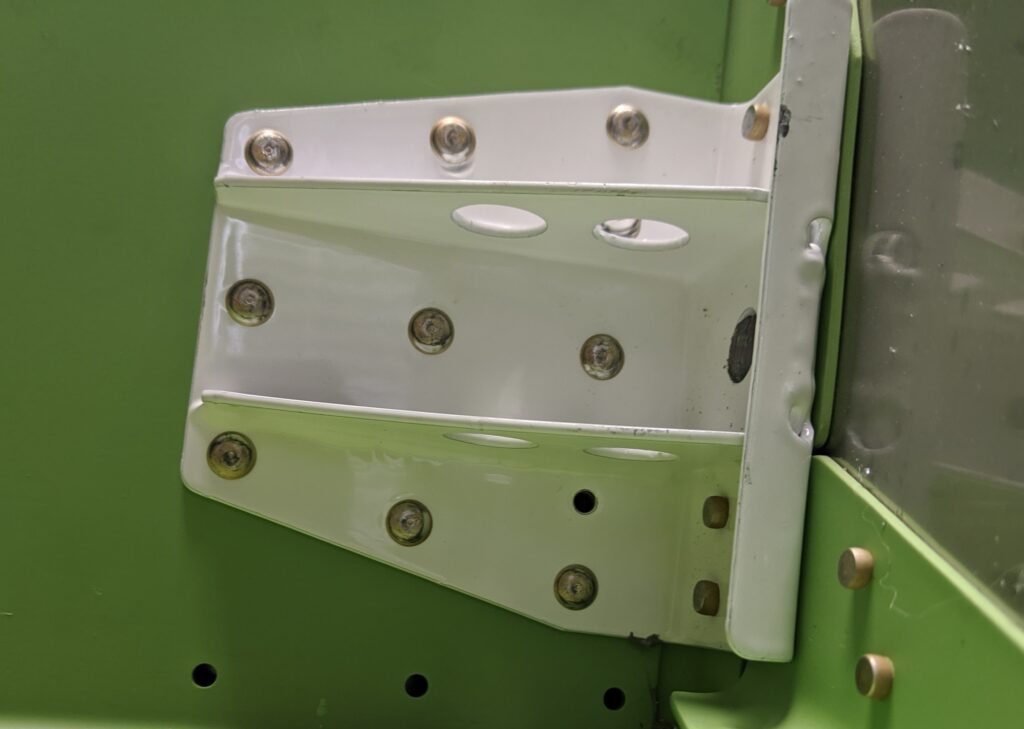
No big deal, right? Just throw another one in there? As the ol’ famed Lee Corso would say, “not so fast, my friend!” As it turns out, once the firewall structure is together, there’s no access to the back side of the firewall tunnel so a standard rivet won’t work here. A quick call to Vans tech support and they gave the go-ahead for a CherryMax rivet here and the build continued on.
Smooth sailing
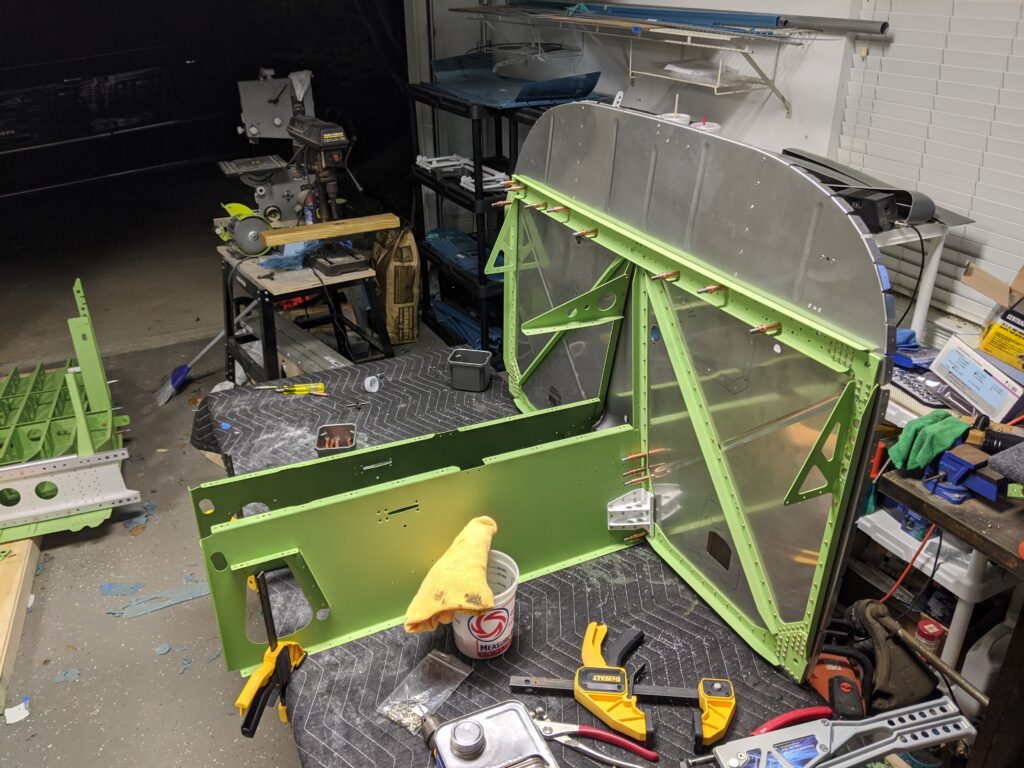
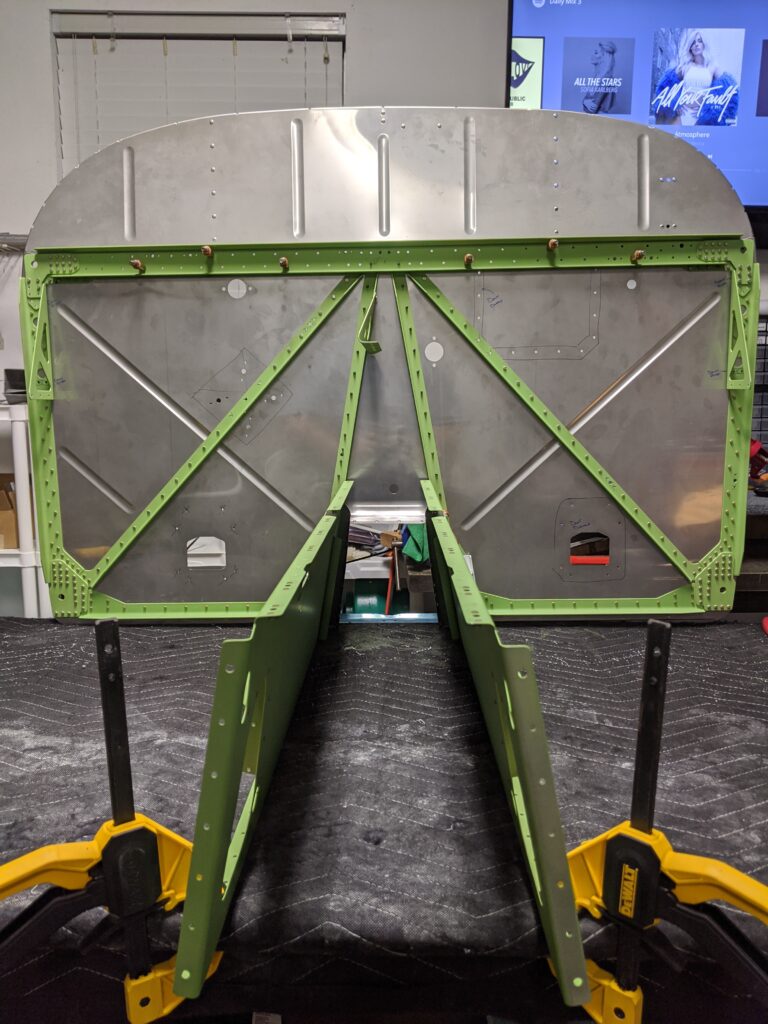
Aside from the above, the rest of the forward fuselage lower structure went pretty smoothly!
And that’s a wrap, folks! Bye bye.


