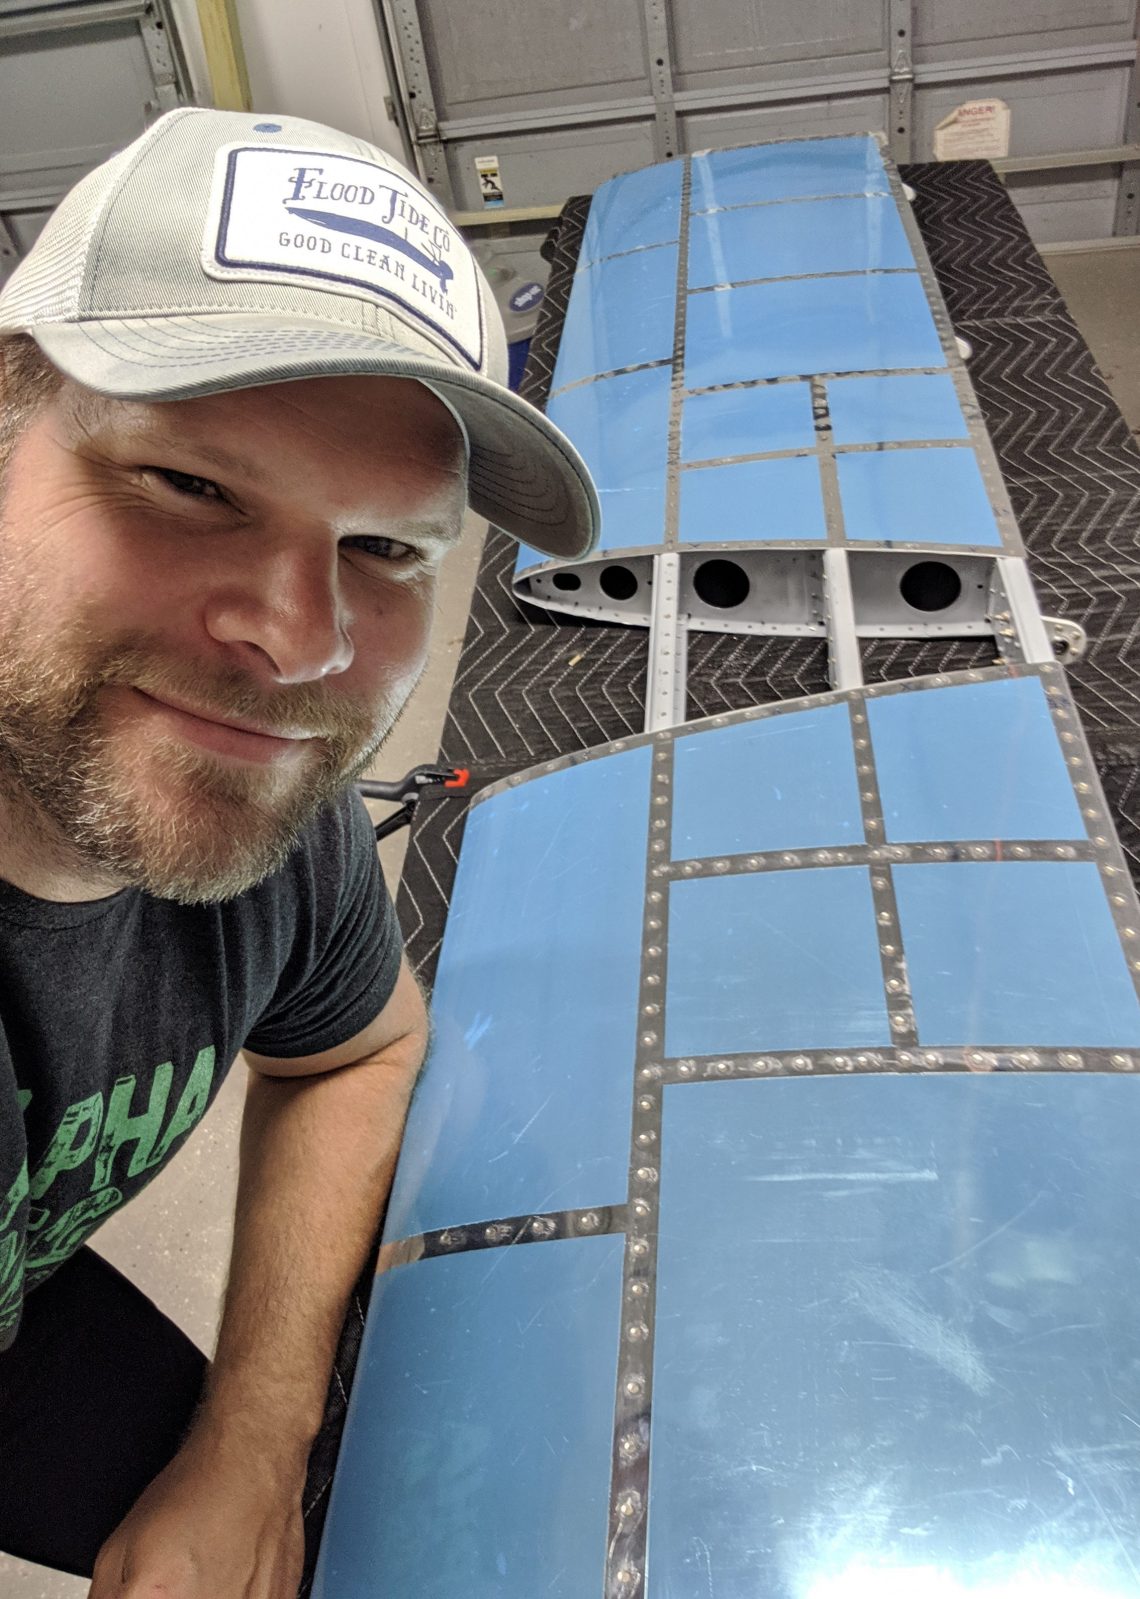
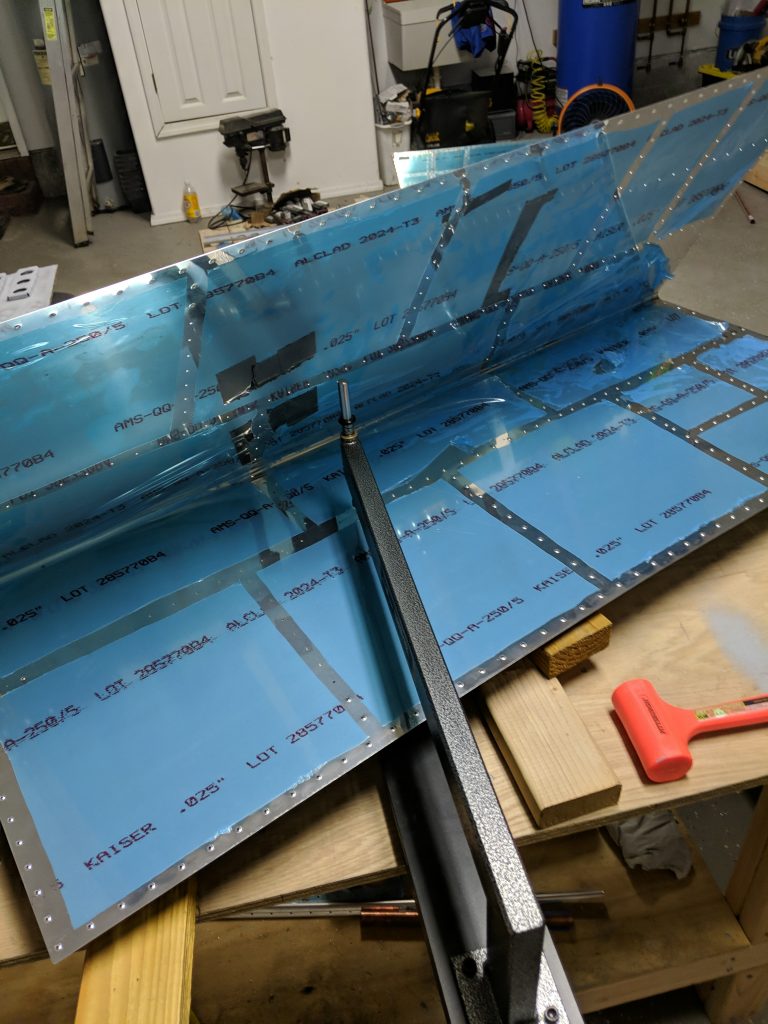
Horizontal Stabilizer is Complete!
I have been terrible about updating the build log, but hopefully that stops with this post! Tonight, after one month and one day, I finished the horizontal stabilizer. Not as quickly as I would have expected, but the month of June and July brought with it some priorities that competed with my build time.
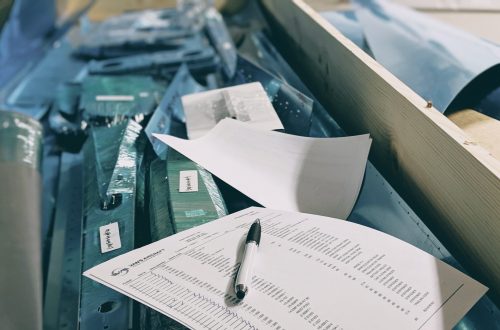
This portion of the build brought a time consuming drill-debur-countersink-dimple rhythm with it that I could’ve done without. A necessary evil, but boring nonetheless.
It seems that, for the most part, the constant deliveries of new tools has subsided, although I did have to buy a torque wrench to finish the inboard hinge assembly on page 08-03. Normally, I’m the type to buy quality tools for the job but for short-run use I got this torque wrench from Harbor Freight for $20 and it did a fine job.
The plans seem to be inconsistent with the priming call-outs from section to section, so I’ve resorted to priming everything that mates before mating the surfaces and riveting, whether the plans call for it or not. An example of this is Step 8 on page 08-02, where it has you rivet the Rear Spar Doubler to the Rear Spar with no mention of priming. It’s pretty easy to figure out what needs to be primed and when, just pay attention and don’t blindly follow the plans when you know something needs to be done.
I made a real dufus move when it came to countersinking the Spars for the dimpled skins (Step 4, Page 08-08). Rather than taking the time to set up the countersink cage/bit on a drill press I decided to do it with the air drill. I ended up with a terribly oblong, wallowed-out countersink on hole 192 of 192:
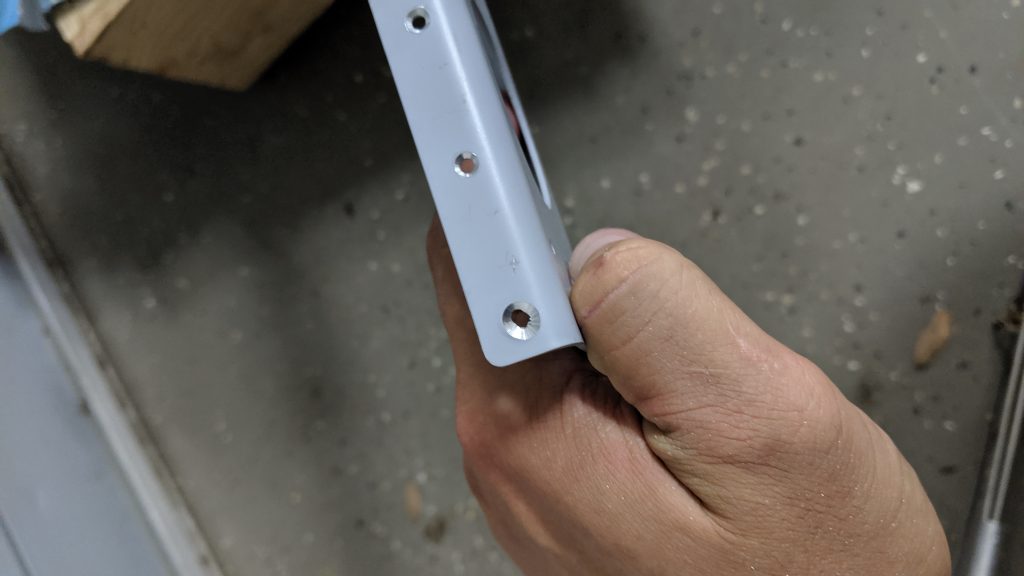
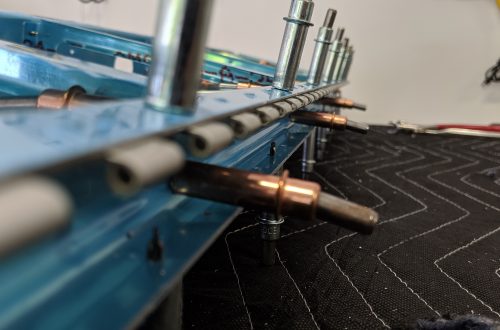
A replacement spar was only about $22, but the shipping was likely going to be $50-60 and I already had all that time invested in drilling and countersinking those holes. So I called Vans and they recommended I fill the hole with JB Weld, re-drill, re-countersink, and place another rivet between it and the hole beside it. I ended up making some countersinks later on the front spar that were probably acceptable, but I used this method the shore those up, as well:

From right to left above, original holes 2, 3, and 4 were the ones in question so I used the aforementioned method to put rivets between them for added structural integrity. Because I couldn’t stand one side being different than the other, I added the same pattern on the opposite end of the HS skin/spar…maybe it will look like something intentional rather than a goof! I’ve decided I’m going to let this sit a while and see if I’m comfortable with this “fix” after more progress has been made on the plane. If not, the option do-over option is always there!
A little advice from this section going forward: use a drill press when countersinking! The holes are much more clean and consistent and you won’t have to add extra rivets.
All-in-all, the horizontal stabilizer took approximately 58 hours to complete. It was fun, but I’m glad it is over and I’m looking forward to getting to work on the elevators!
Total build time: 58 hours