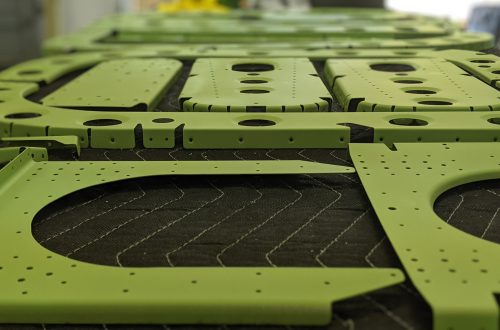
Mid Fuselage Lower Structure
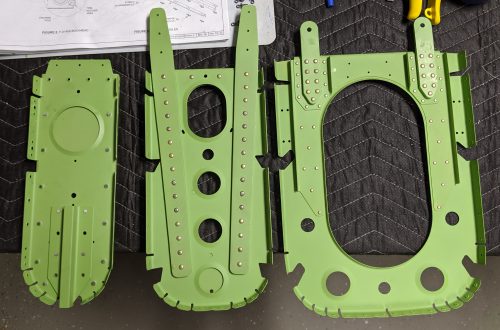
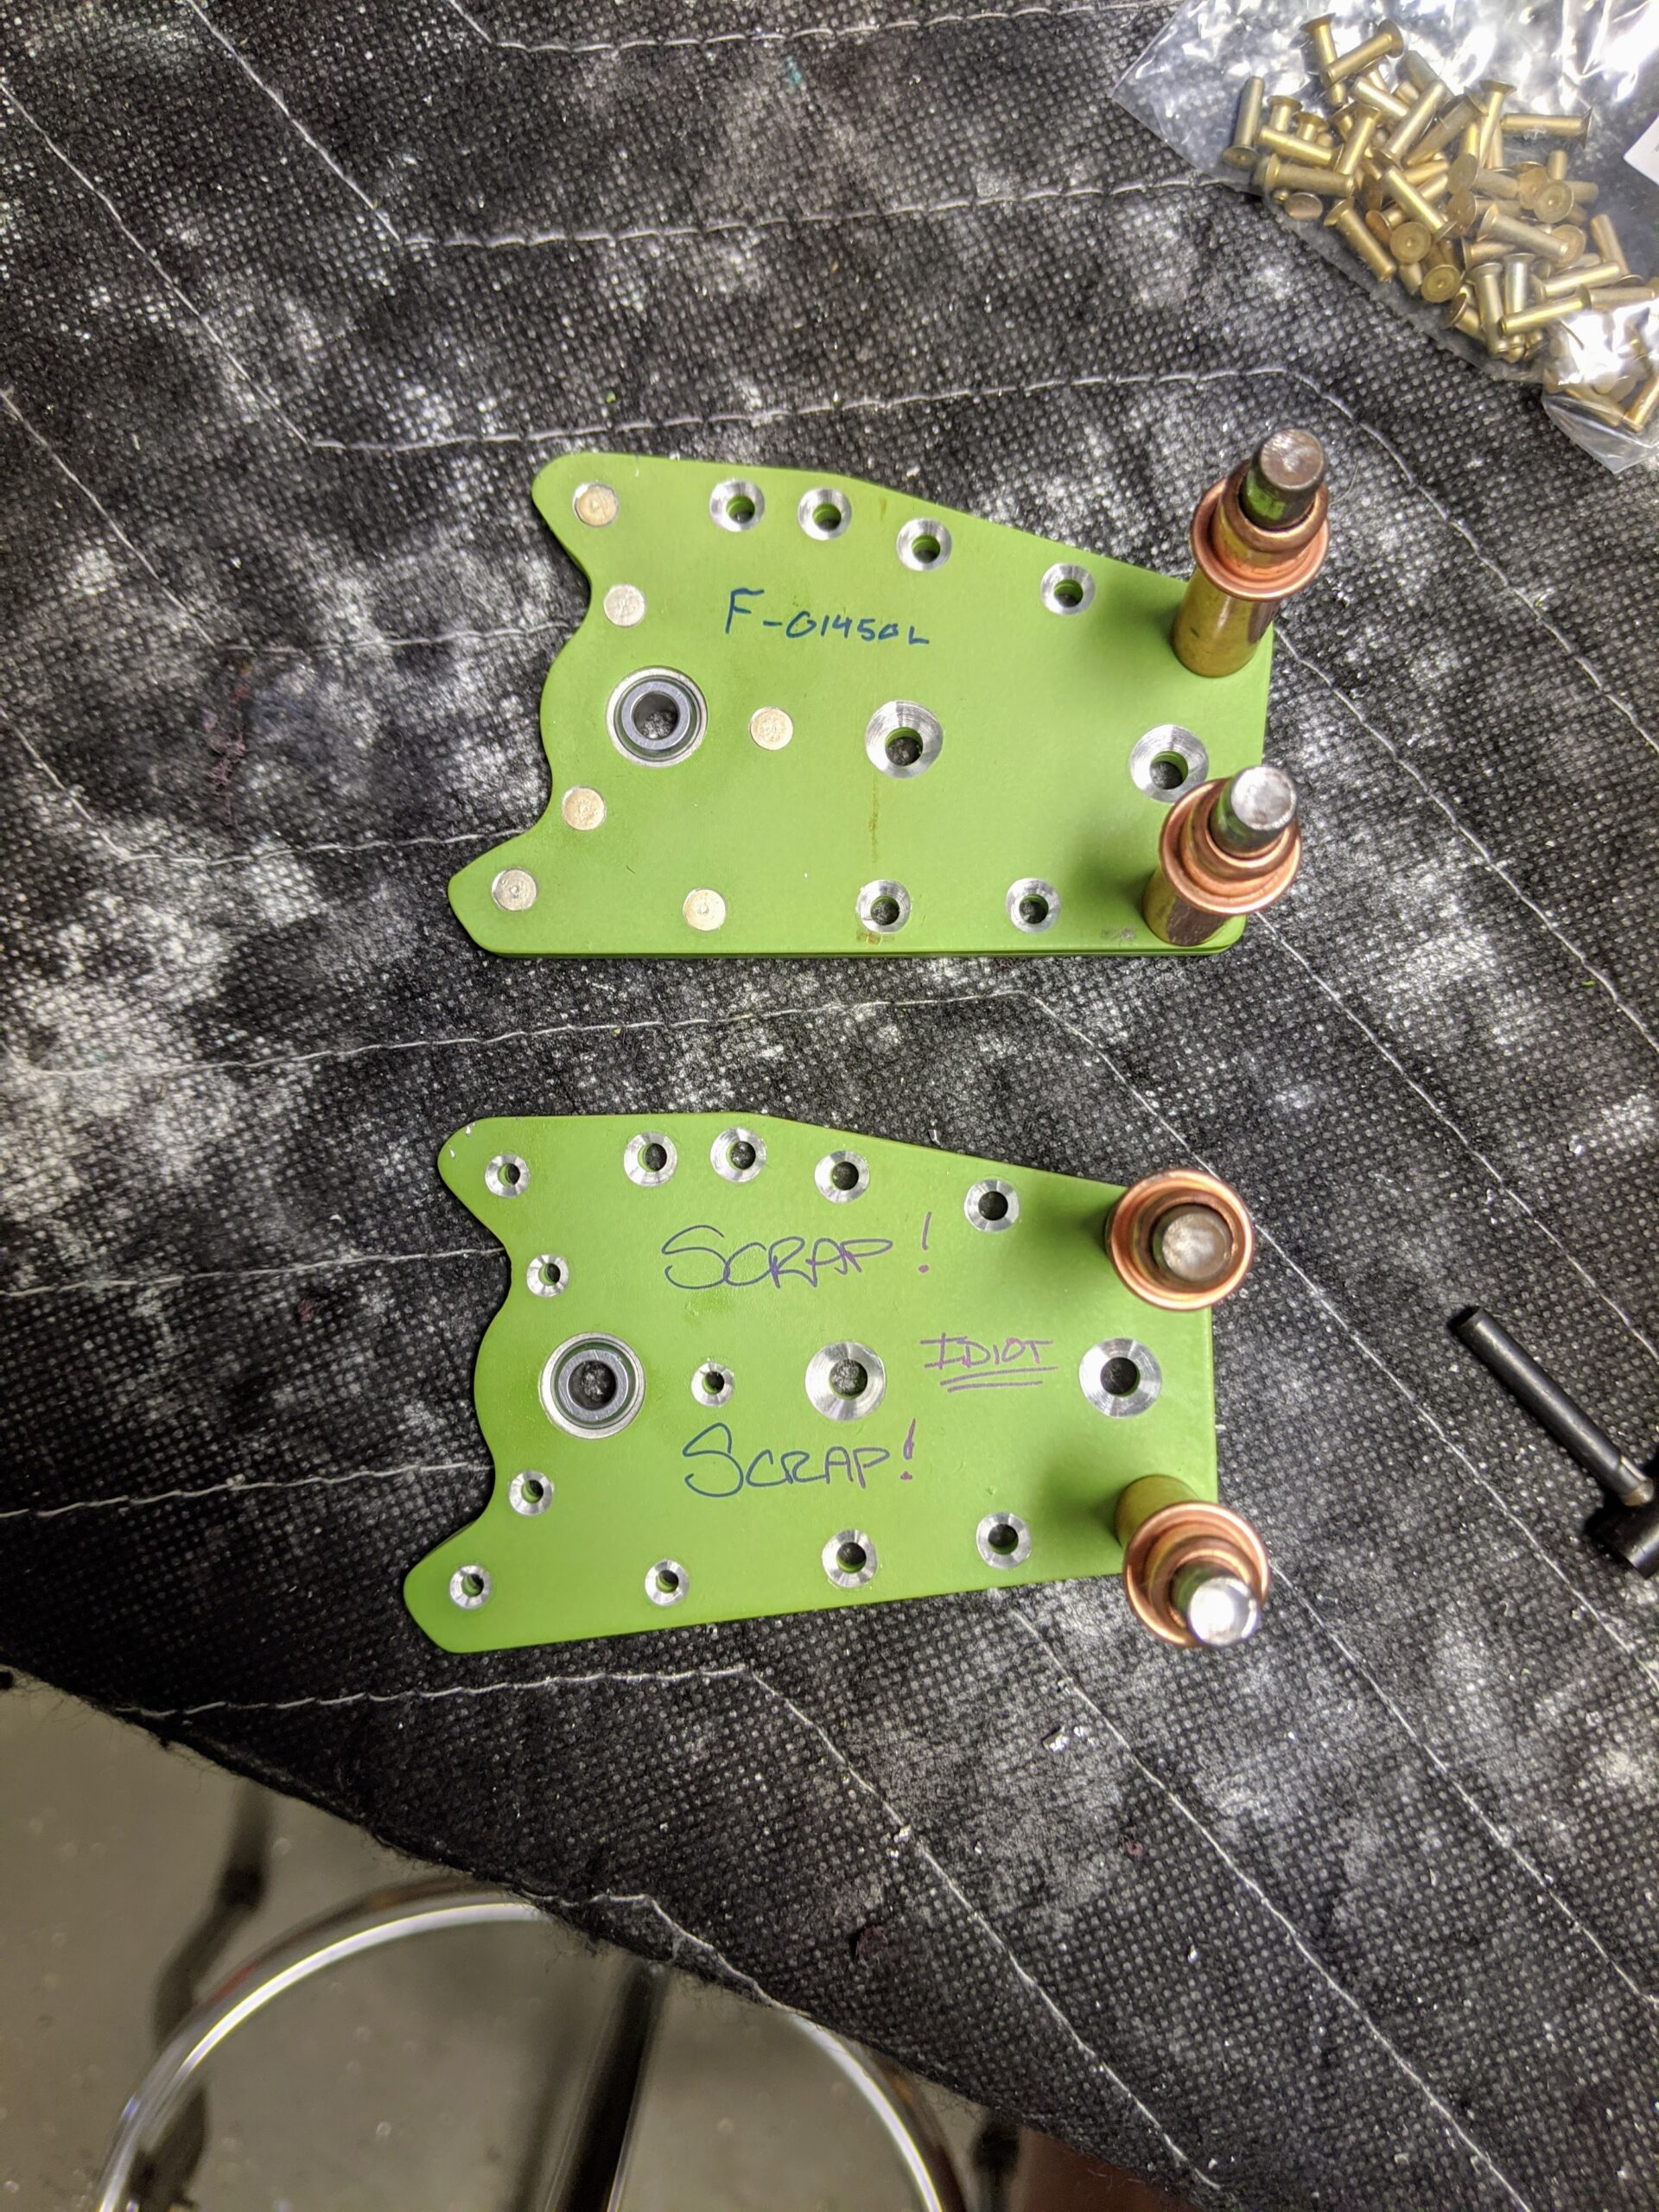
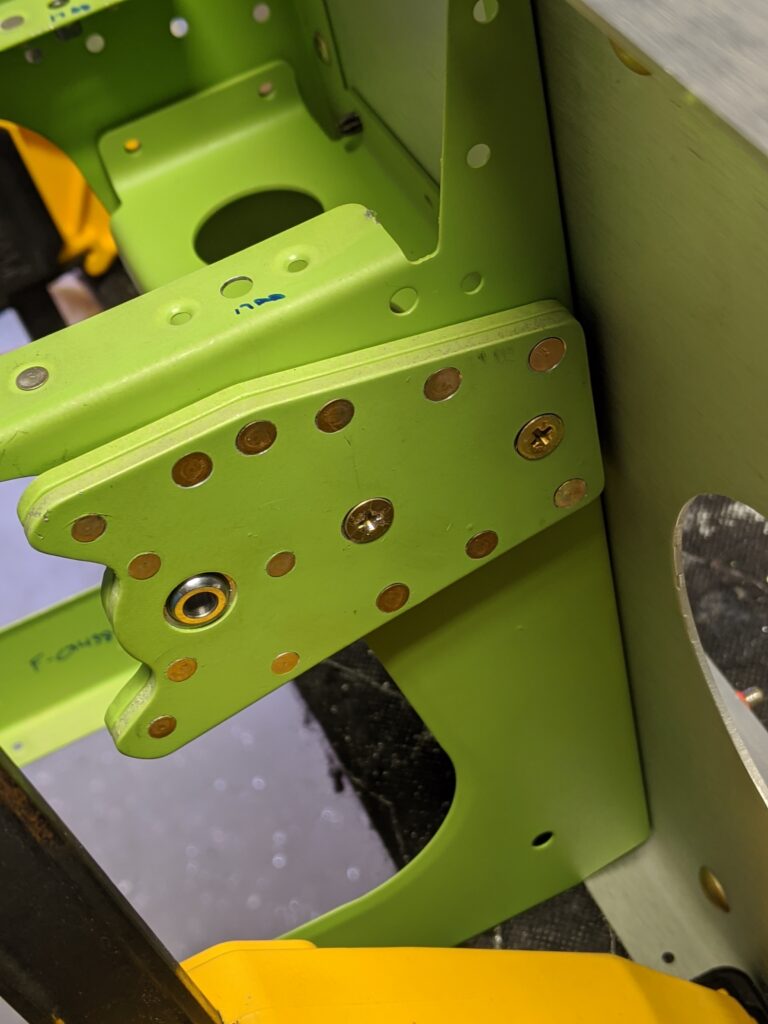
Lots of work for this update. Lots and lots of riveting, some nail-biting cutting, and a stupid mistake. First, the mistake. The control stick mounts to a bearing bracket that also acts as a control stop. The parts are identical and you are required to machine countersink on opposite sides:

Notice that the countersinks should be on opposite, outboard sides of each bracket so that a rivet can be set “double flush” (i.e. flush with the surface on both sides). Well, if you’re not paying attention it’s very easy to mistake the inboard side for the outboard side and countersink on the wrong side, like so:
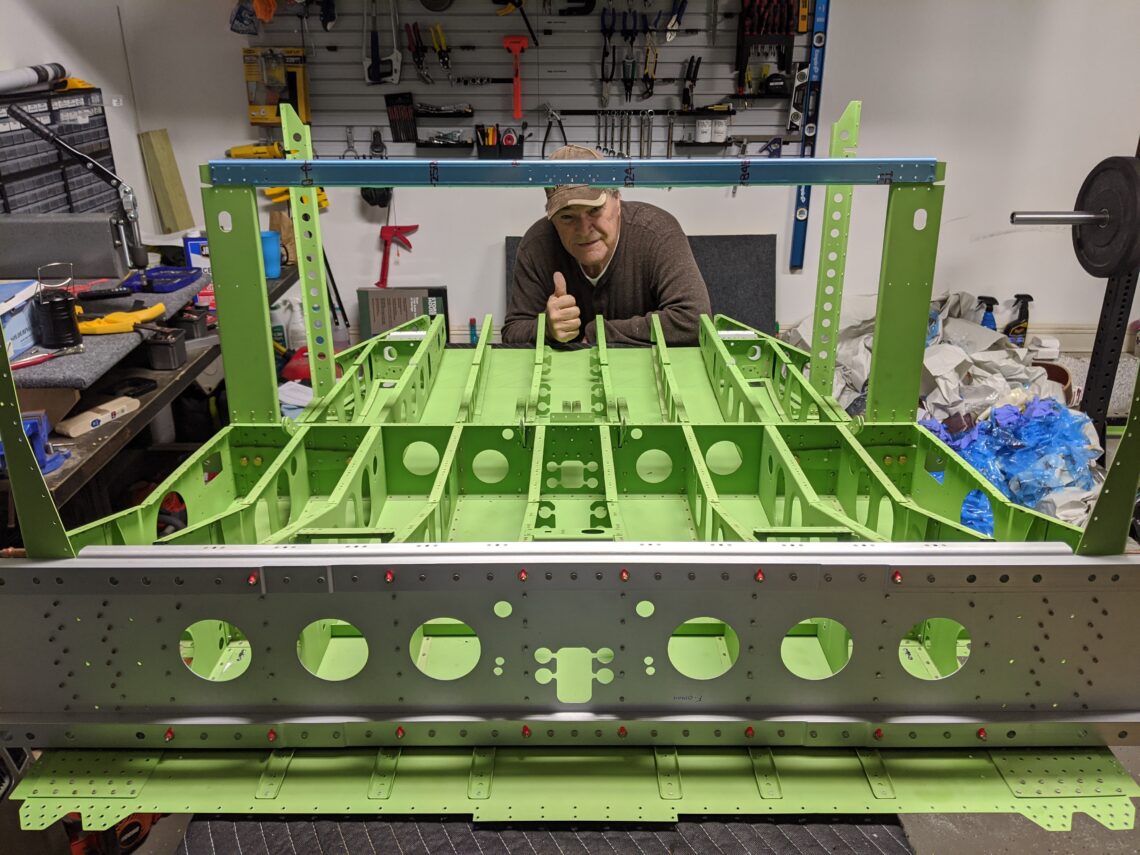
After ordering new parts to redo the bearing brackets, I got everything countersunk correctly, the brackets assembled, the ribs installed on the forward bulkhead, and the bearing brackets installed onto the ribs:
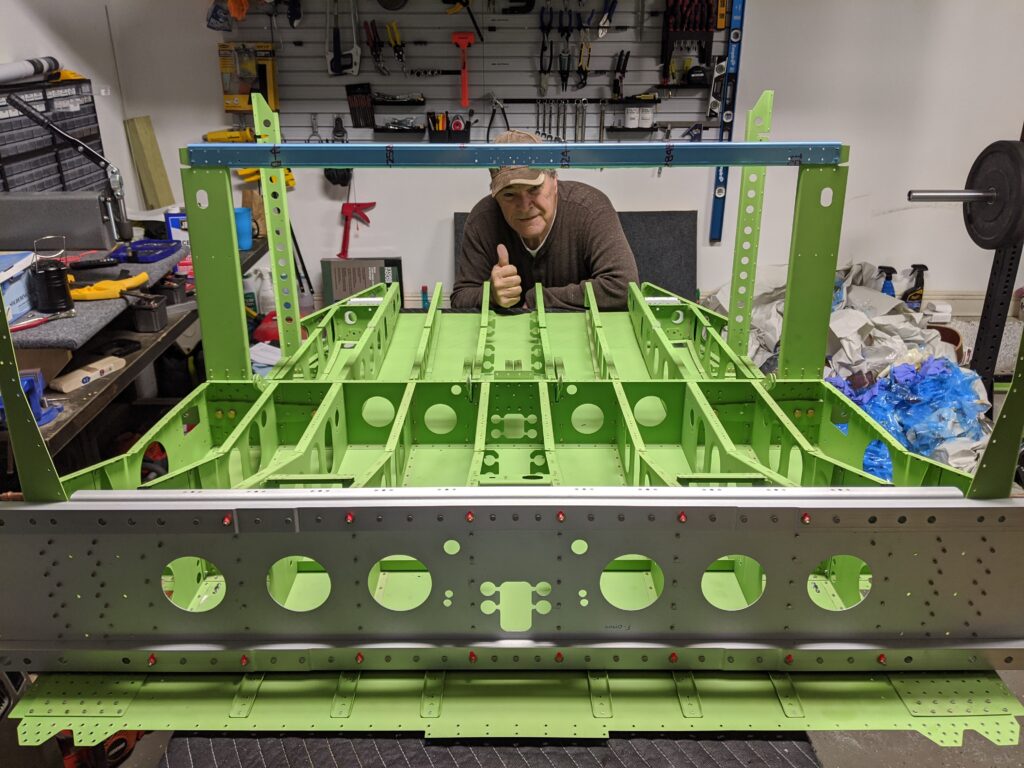
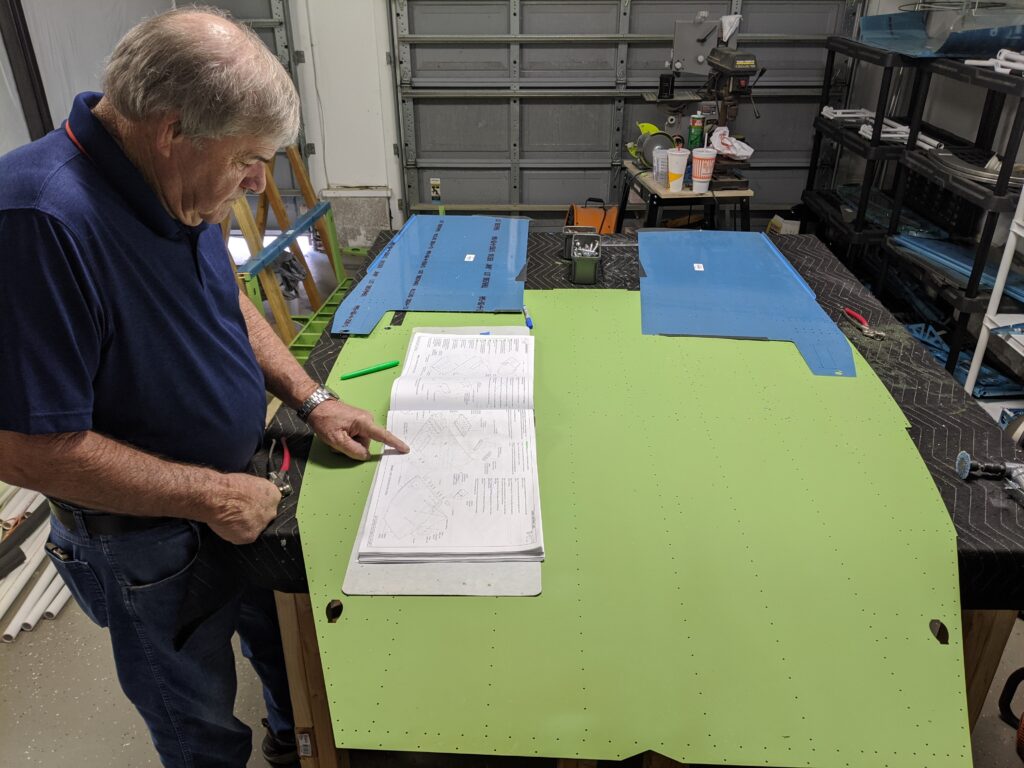
Being so close to the edges, I chose to make the countersinks with a hand countersink tool. The results turned out okay but certainly not nearly as clean as I would’ve preferred. If I had to do it over again I’d use a countersink tool in a drill press with the brackets clamped down. Onto the mid fuselage lower structure! This is where the precarious work began:
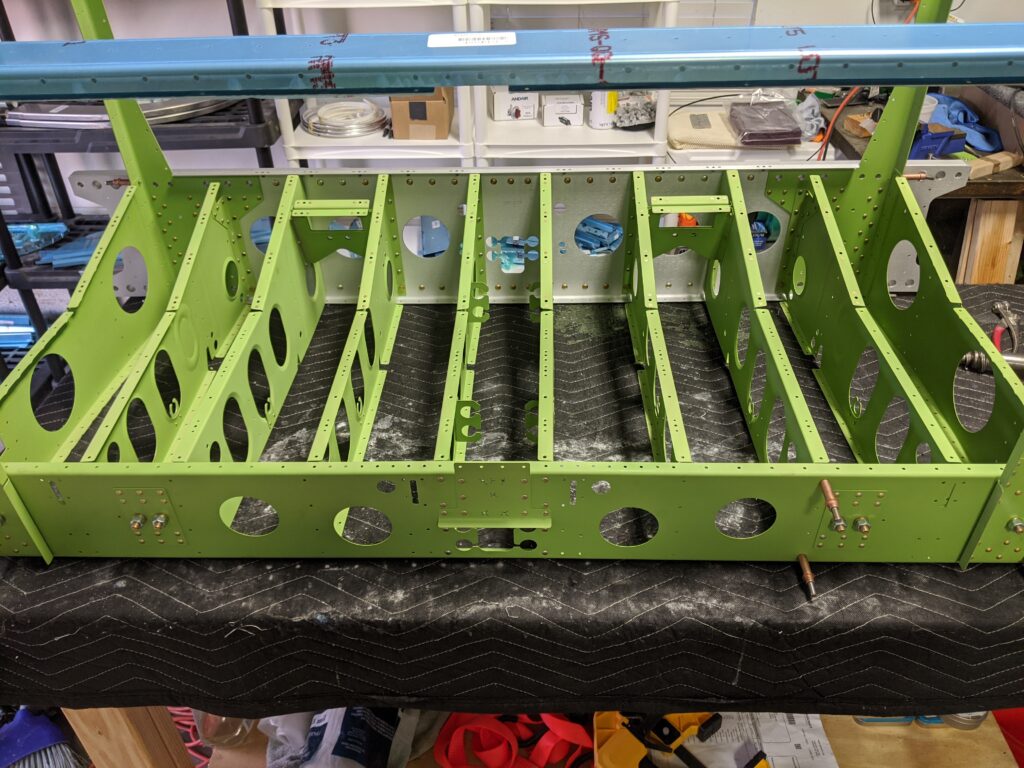
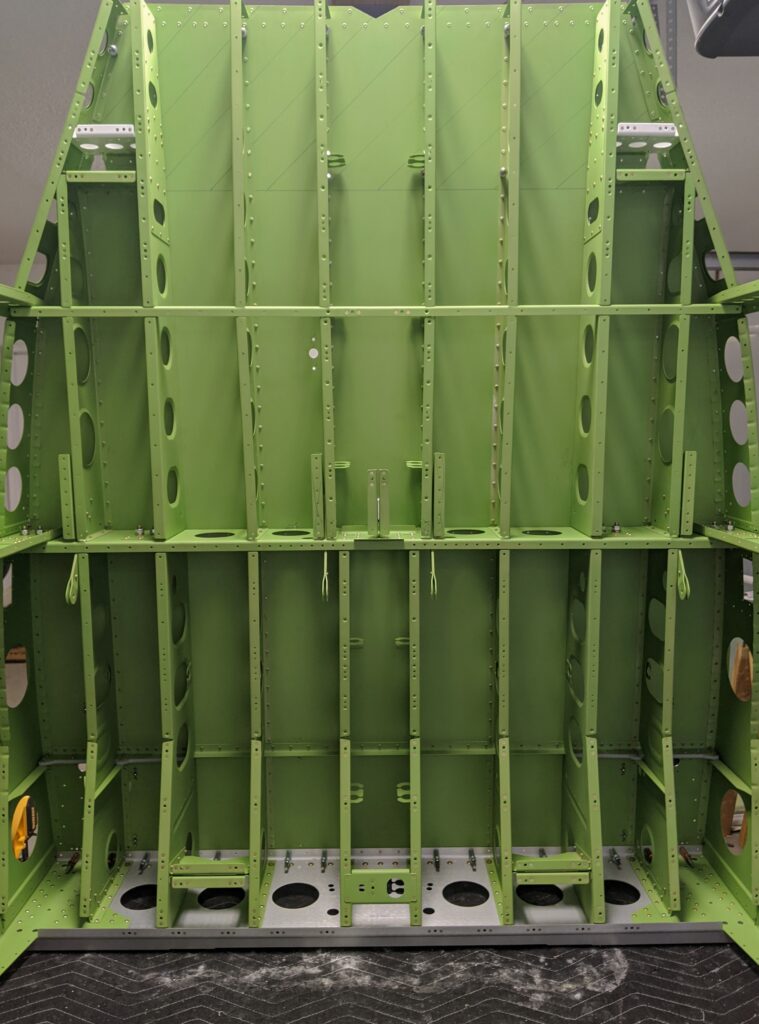
Once we got the seat ribs installed to the bulkhead, we turned our attention to the don’t-mess-this-up phase: cutting the holes for the landing gear mains in the fuselage bottom skins:
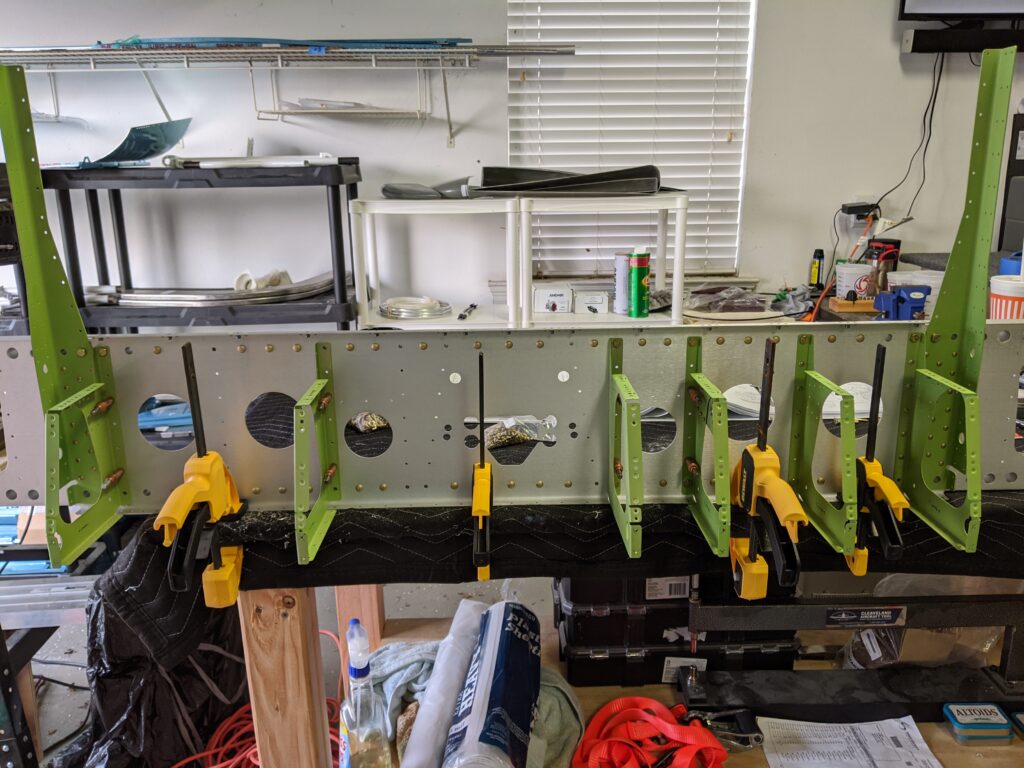
With the holes successfully cut, it was on to riveting the lower fuselage bottom skins to the structure!