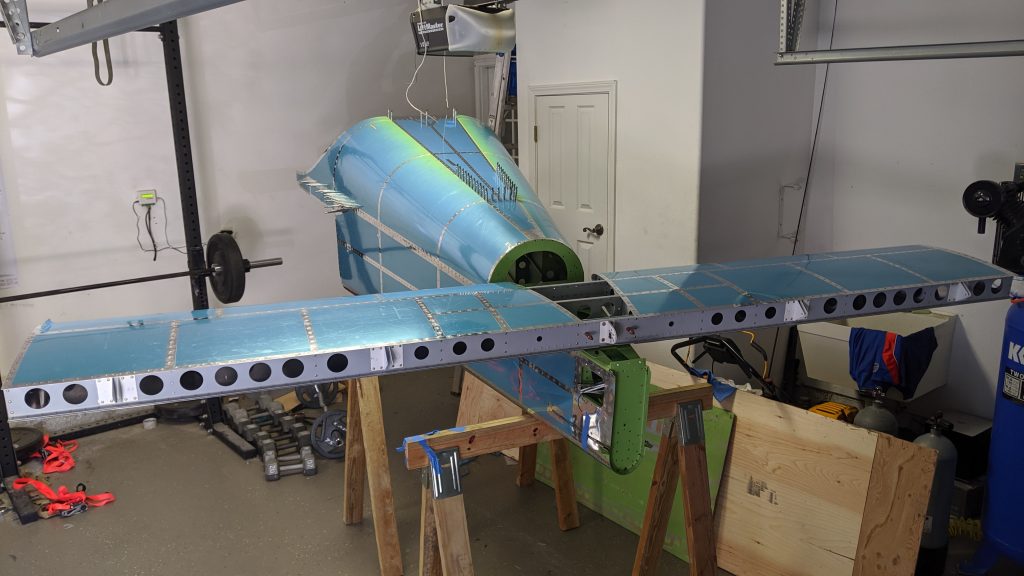
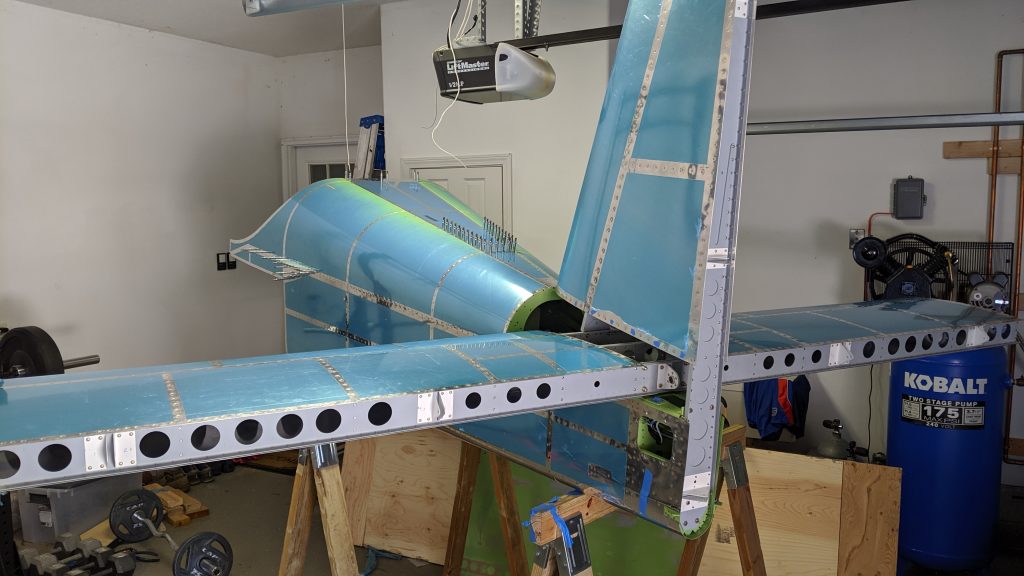
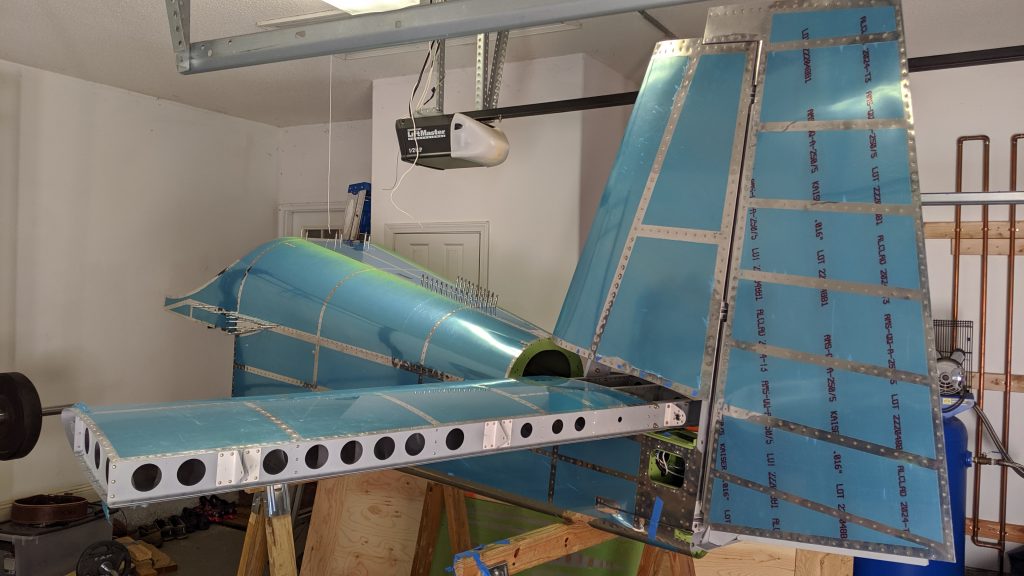
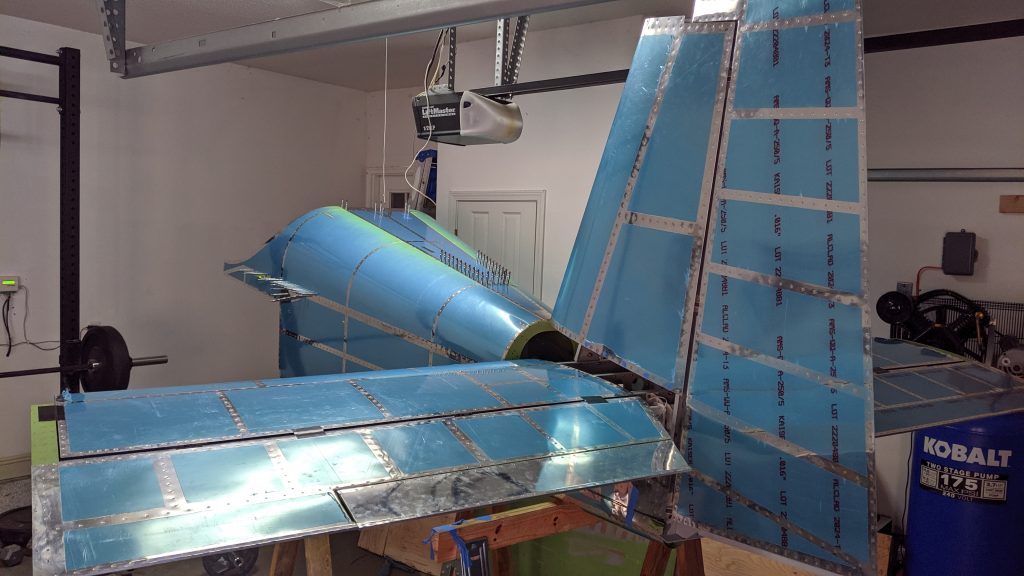
Empennage Completion
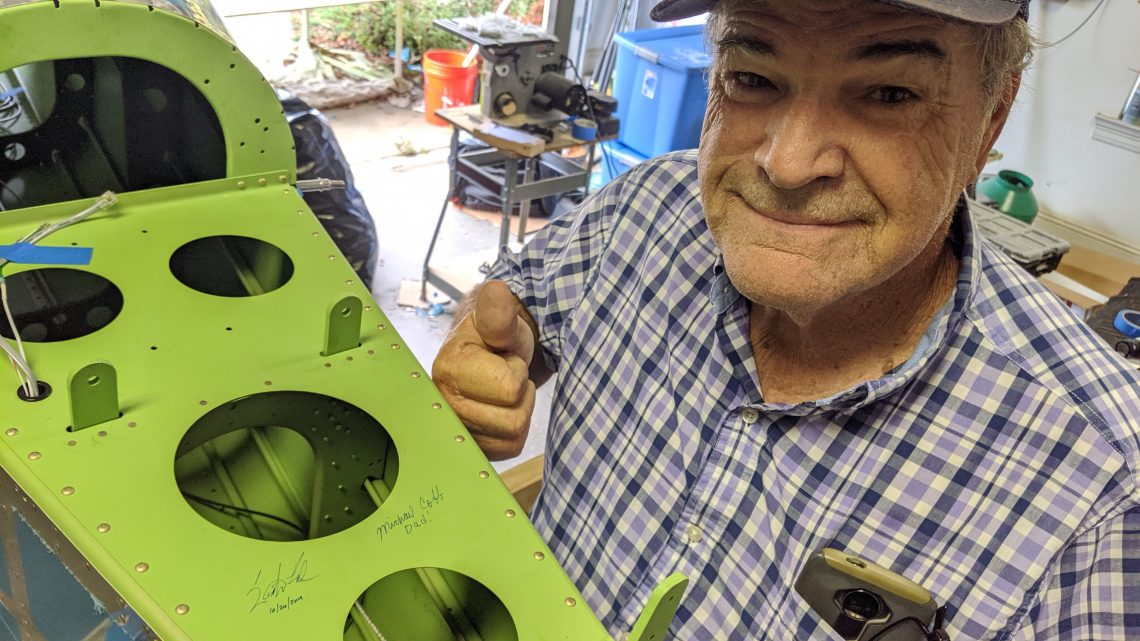
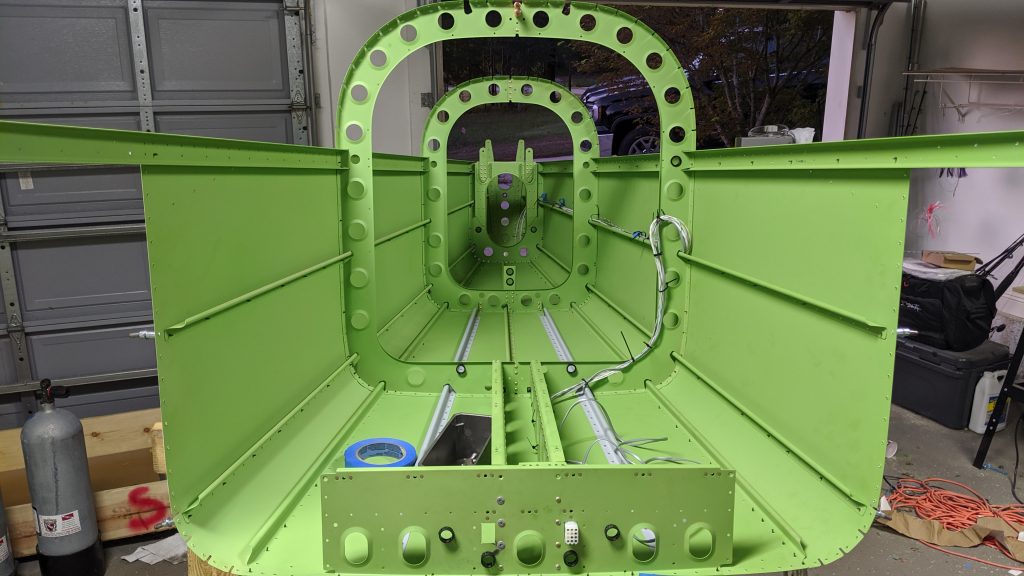
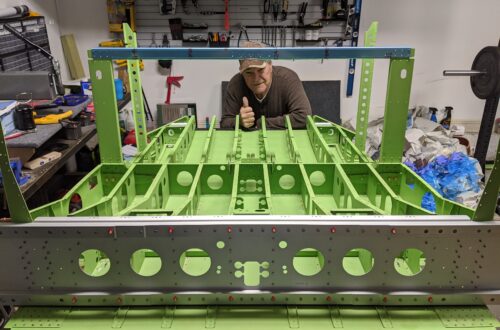
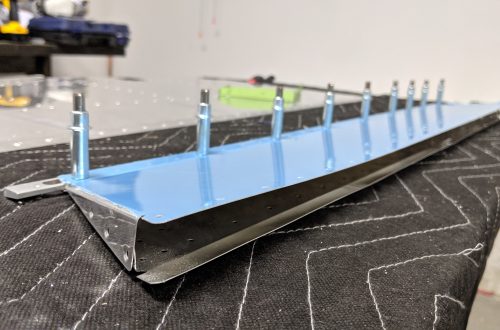
Well, it’s been a while since I’ve made a post so to make up for it I’m including lots of pictures because, well…lots of words are boring. Something about the holidays makes me want to be unproductive in all manner of activities except for those involving food so I didn’t have much motivation to keep up with the site. I did, however, finish the empennage back in October:
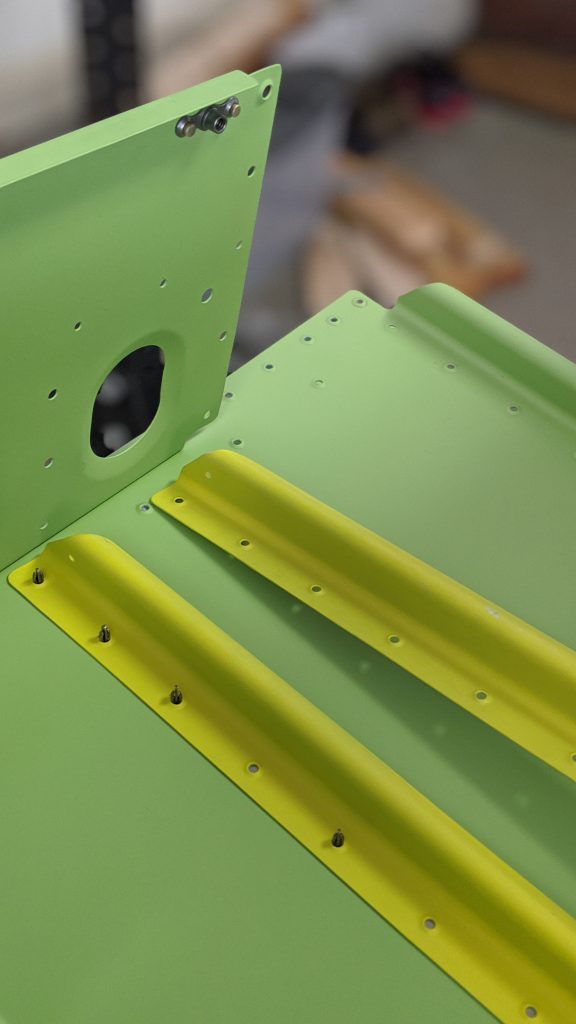
A quick note about the picture above. The -L and -R stiffeners for the bottom skin look *very* similar and as it turns out Vans sent me two -R stiffeners. They had the “-L” and “-R” labels, but they weren’t actually -L and -R. I’ve since seen at least one other builder have the same issue, so make sure to check when doing your inventory. A quick call and the very gracious support staff shipped me a -L stiffener no questions asked. Vans really is a great company to work with!
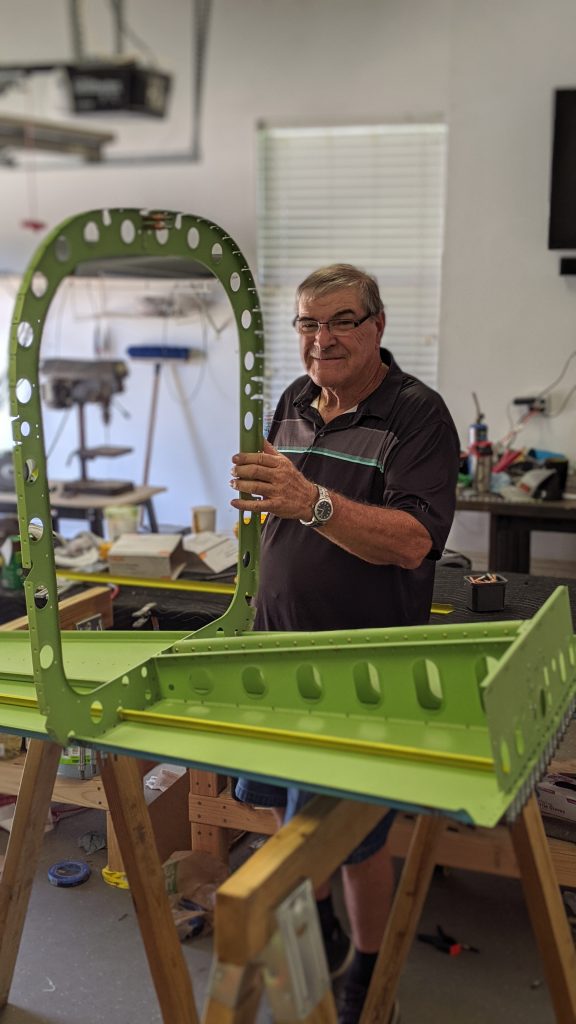
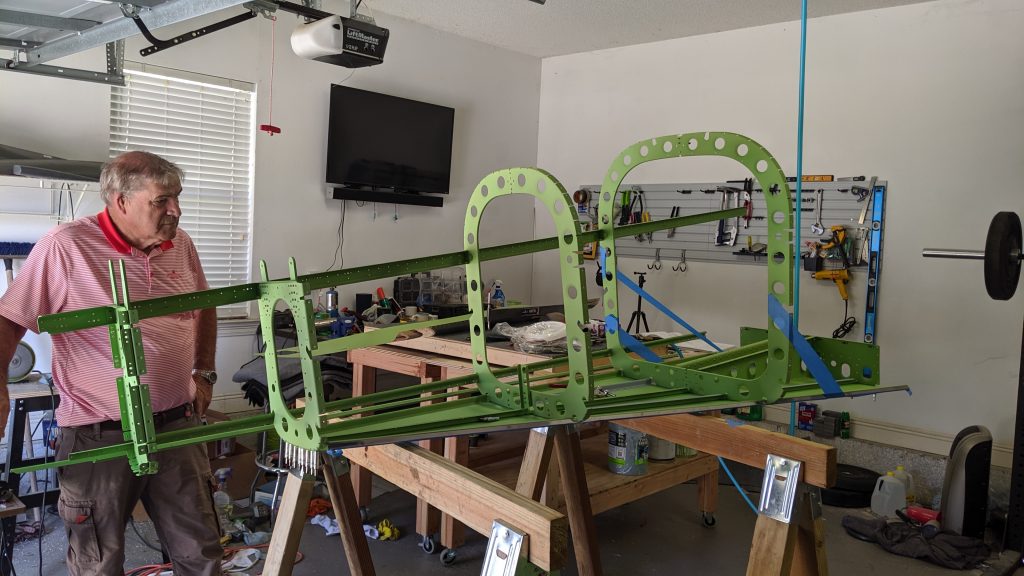
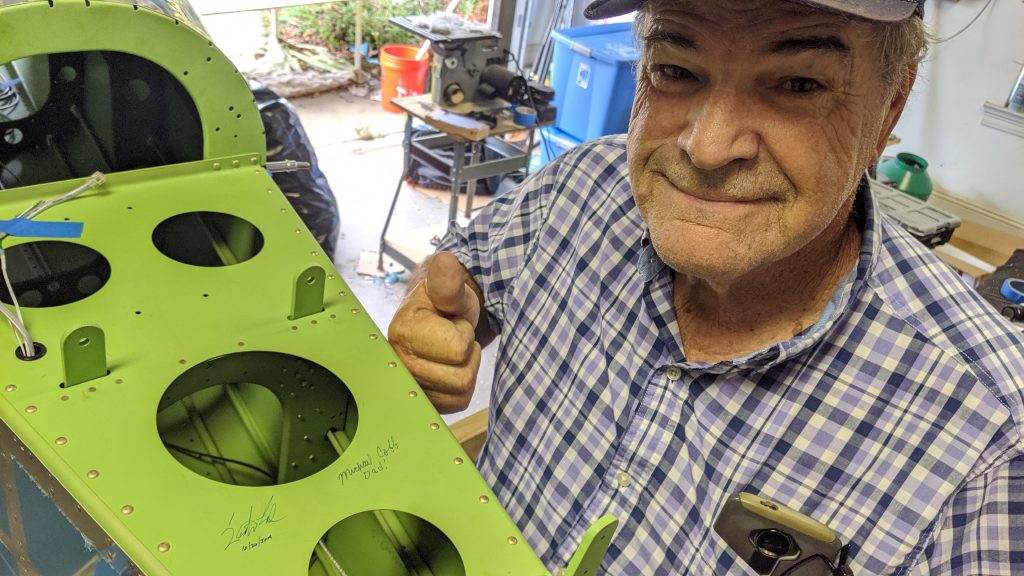
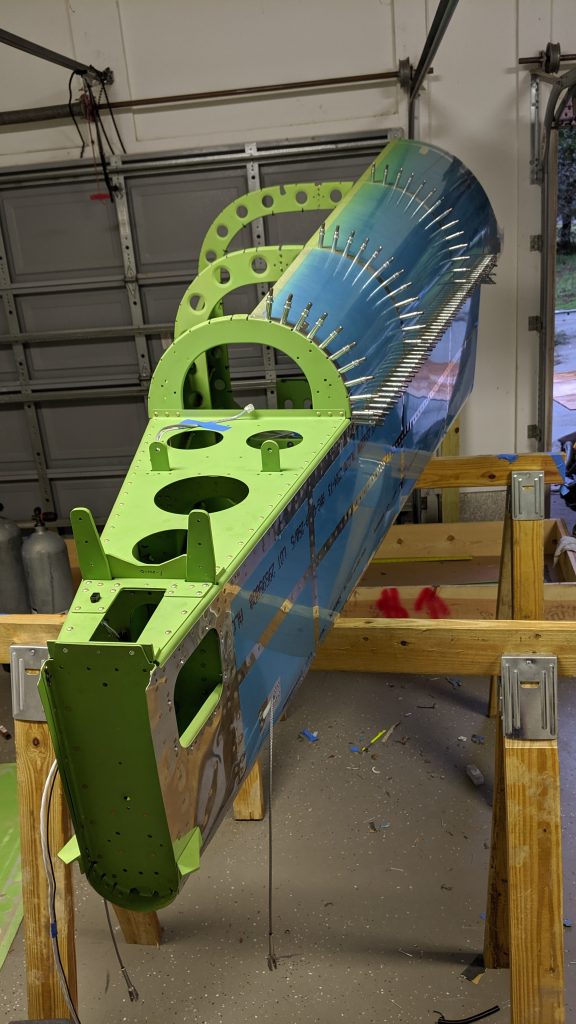
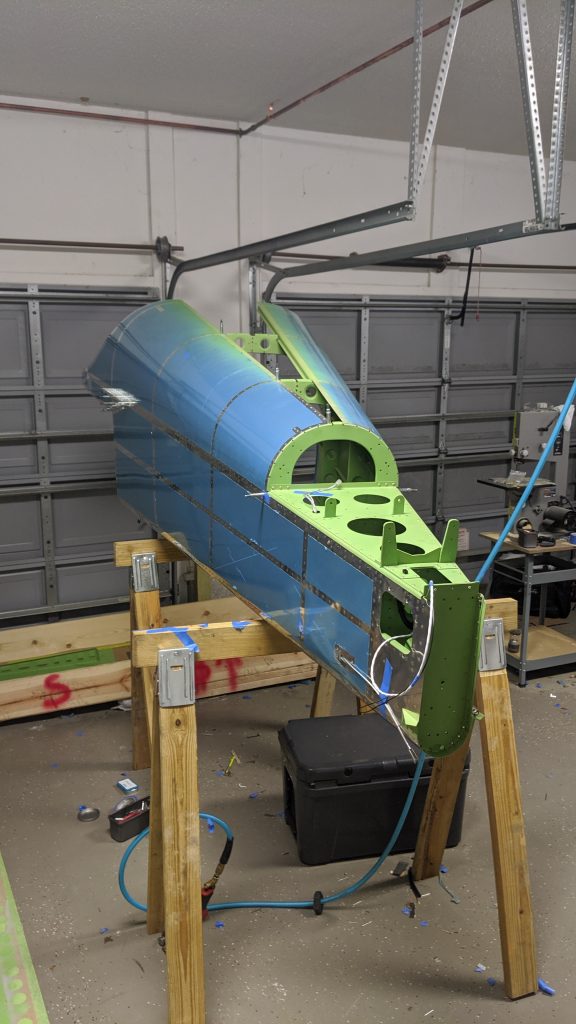
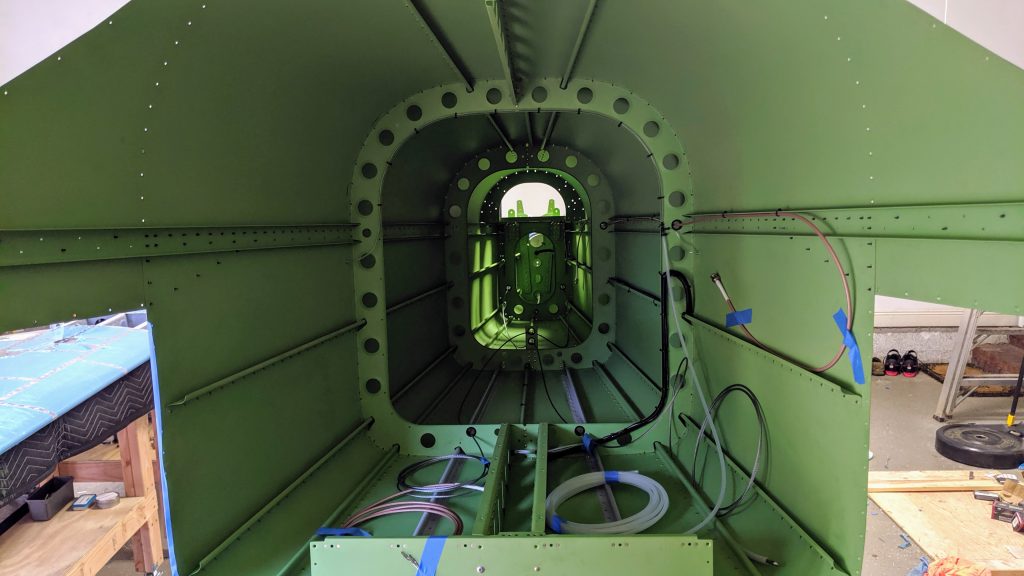
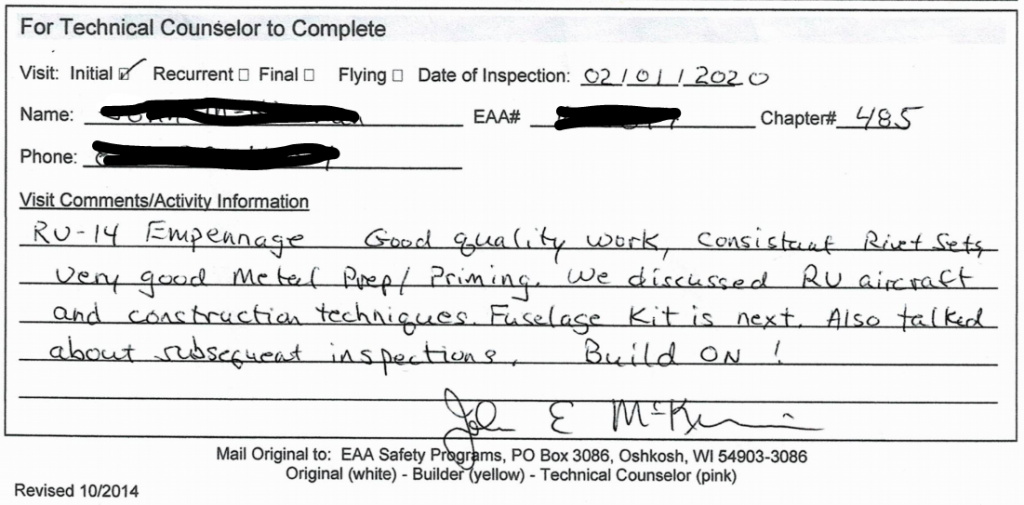
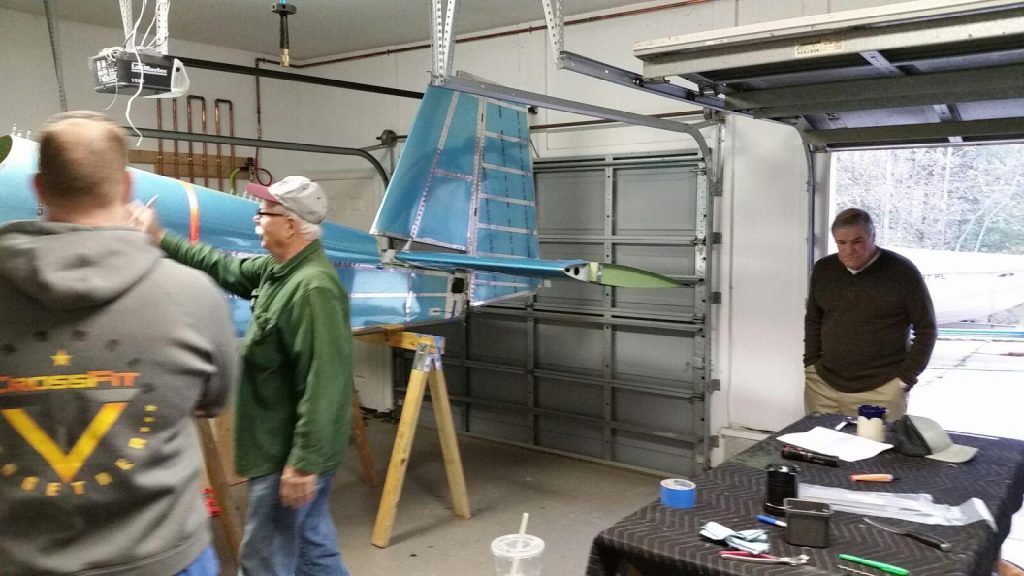
It really pains me to leave all that shiny aluminum covered! I had a Technical Counselor from my local EAA chapter, #485, come pay me a visit over the weekend to assess my work; all-in-all he was pleased with both the work and the preparation/priming:
He did recommend going ahead and priming the exterior. I’ve gone back and forth on that because on one hand I figure if I take it to a professional paint shop they’re going to strip any priming that I do which will add time and cost to the paint job. On the other hand, lately I’ve been strongly considering painting it myself and if that’s the route I go I might as well go ahead and prime everything. I’ve got time, so I won’t rush the decision. Those of you who have painted your own plane(s), I’d love to hear from you: is it worth doing yourself?
Speaking of having time, the next sub-kit should be shipping any day now! Toward the end of the empennage sub-kit my Dad made regular trips over to help me with the build. In order to keep the monotony down and his interest up I decided to skip the wing kit and go straight to the fuselage. I figure there’s enough variety in that to keep the momentum going for him and by the time we’re done with that the wing kit will just be one of those things we’ve gotta push through and get done. Can’t wait to get started!


One Comment
Bibrak
I like how you put dirrent color prime on different parts. Very cool!