Changing up the Primer Game
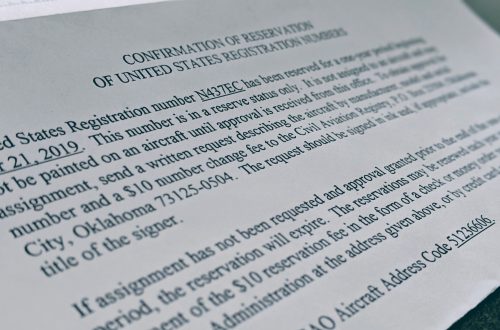
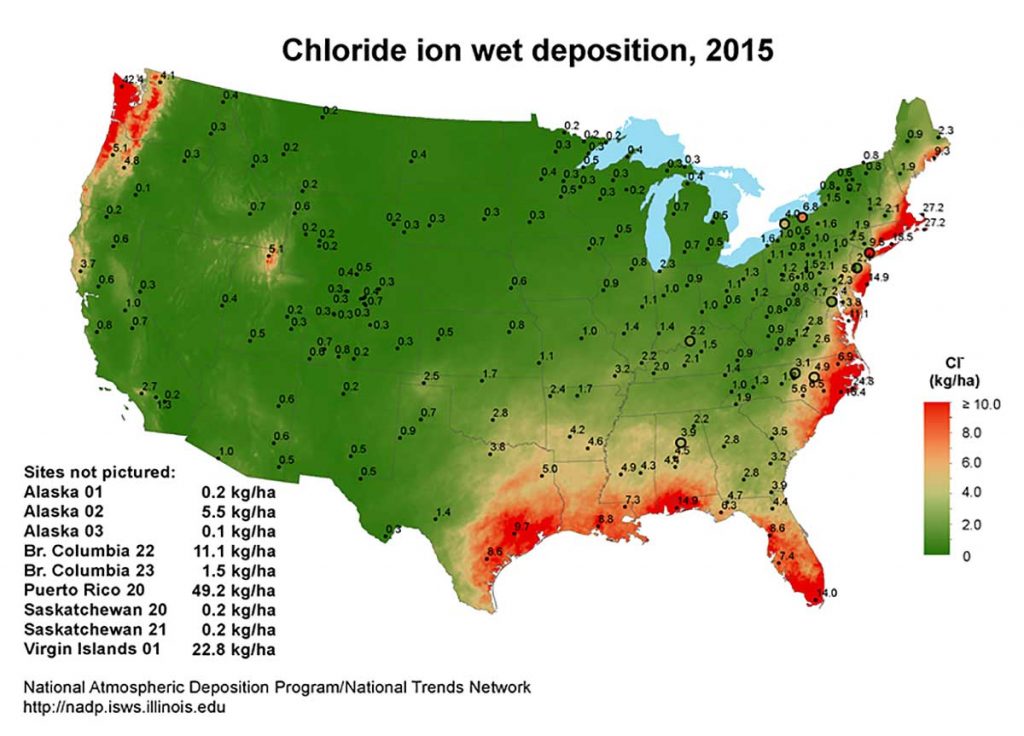
Nothing is as hotly-debated in the amateur homebuilt world as to whether or not to prime. In fact, my very first call to the Vans builder support line was about whether or not to prime, and what primer to use. While on hold, a recorded message informed me that Vans engineers were “currently negotiating a truce in the Primer Wars.” These engineering nerds got jokes! Anyway, you could ask a thousand people about their thoughts on priming and you’d likely get a thousand dissenting opinions of varying degrees. Most parts that come in the Vans kit are alclad, meaning there is a thin coating of pure aluminum that protects against oxidation (that could ultimately lead to corrosion). There are plenty of perfectly good 40 -50 year old certified aircraft flying around that were never primed, even here on the soggy, humid, salt-air northern gulf coast. So, why prime if there are aluminum birds still taking flight in their birthday suits? Why not? It only adds a small amount of time to the build and gives peace of mind that all the hard work building the plane will last into the next generation aviator to hop in the left seat, assuming I don’t ball this baby up on the first taxi. But that was a decision I made after much deliberation following the call to Vans. The Vans engineer, hearing that I live on the gulf coast, suggested that I prime without question. Still not convinced I wanted to prime my airplane on the advice of an aerospace engineer who has probably built several airplanes, I set out to do some research on just how necessary it would be to prime my airplane for a life of salty air. I found this link describing the levels of salinity across the US and to what extent they can be expected to cause oxidation or act as an electrolyte in support of galvanic corrosion. This website links to a graph of salt chloride in the United States and, surprise…Florida is numero uno! Further, the western portion of the panhandle, where I live, exhibits the highest concentration of salt penetration in the entire United States.
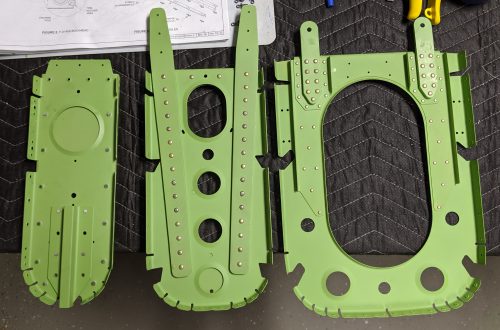
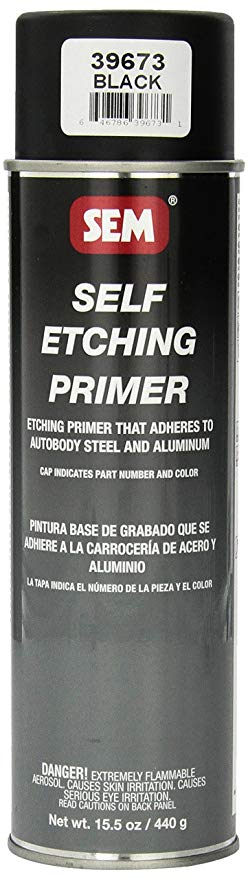
Okay, priming it is. So I ended up with two options: aerosol can primer or two-part epoxy primer from a spray gun. I really didn’t want to deal with the hassle of a spray gun because of the time to setup, spray, and clean up versus the simpler shake-spray-done approach with the aerosol primer. I settled on SEM self-etching primer at around $20 per can.
Priming from a rattle can is so easy. Shake it up, spray it on, wait 10 minutes, and you’re good-to-go. However, after priming the vertical stabilizer, the rudder, and the horizontal stabilizer with this stuff I wasn’t satisfied with it’s durability against the occasional slip of the bucking bar. It is very easy to chip off, and you can forget about it if the bucking bar touches the part during riveting. If I’m going to switch it up, I might as well go all-in…
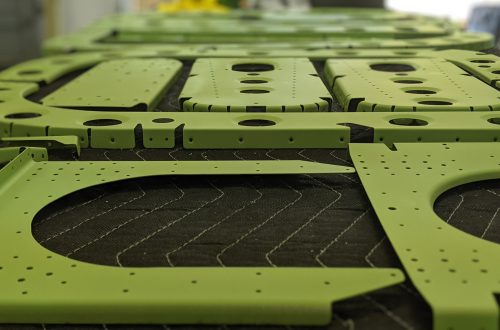
Enter AkzoNobel two-part epoxy primer. A local supplier carries both the 463-12-8 that most people are using (and that most online aircraft supply stores carry) and the 10P4-2NF that Boeing and many other aircraft builders use for detail and subassembly parts. Both are fluid resistant and the datasheets for each are fairly similar. After speaking to AkzoNobel about the differences between the two, it seems that the 463-12-8 is a little more resistant to the harsher fluids like Skydrol (a phosphate ester-based hydraulic fluid) and so is generally used where those types of fluids are present. The 463-12-8 is $140 at my local supplier and and the 10P4-2NF is $97, sooooo…10P4-2NF it is (at least until I get to the firewall forward)!
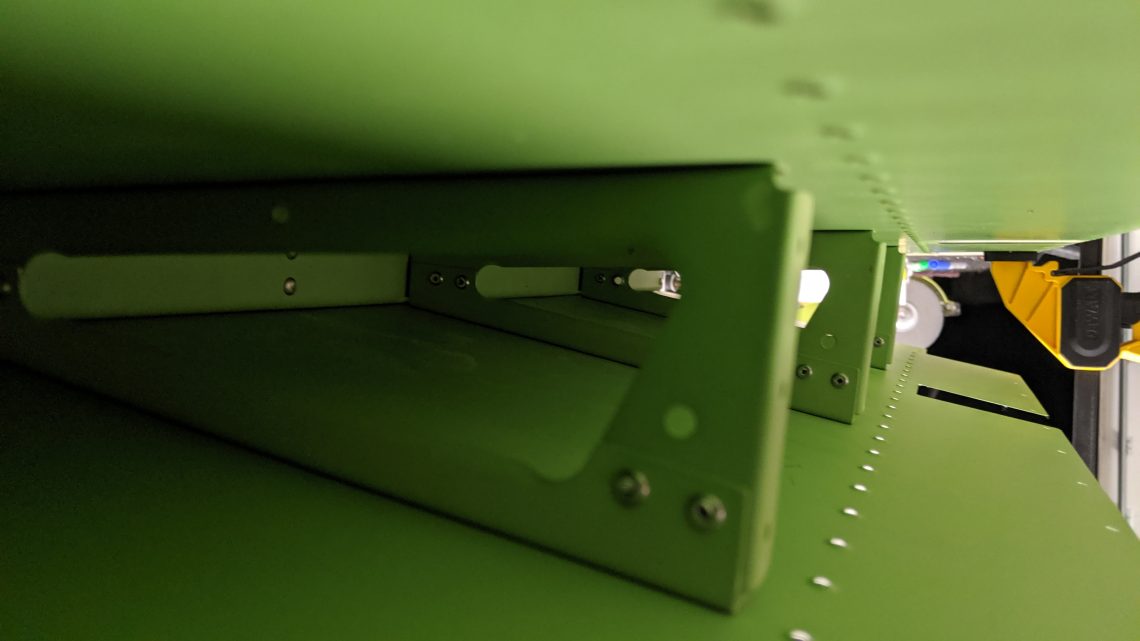
I’ve been very happy with the results from this primer. It goes on smoothly, dries to the touch quickly, is durable, and is very resistant to the acetone that I use regularly.