Rivets and Hardware and Skins, Oh My!
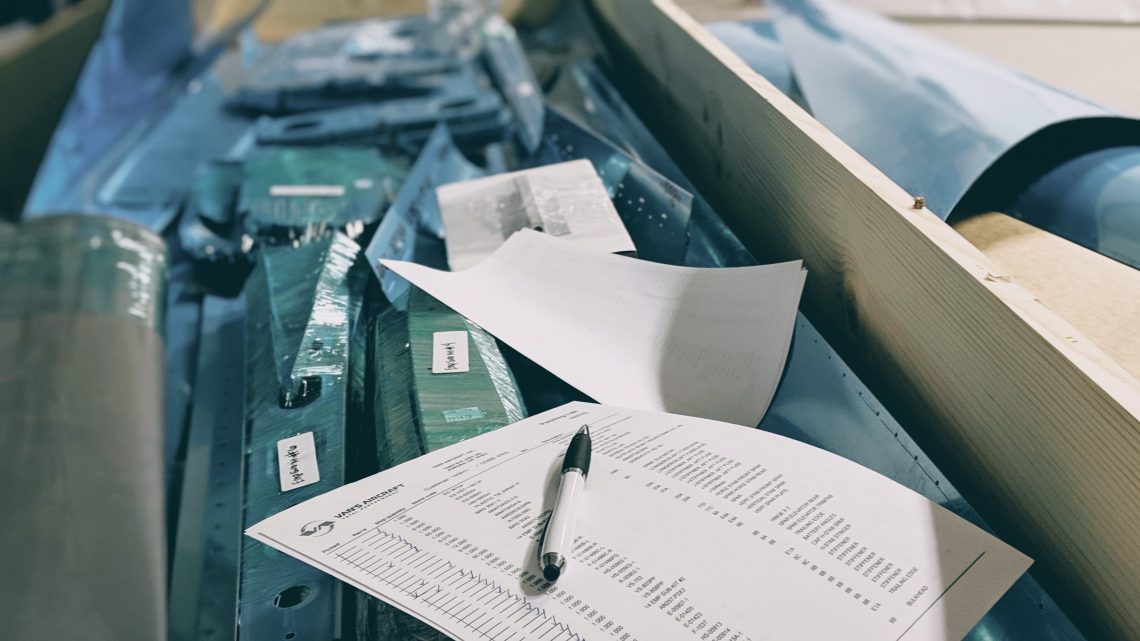
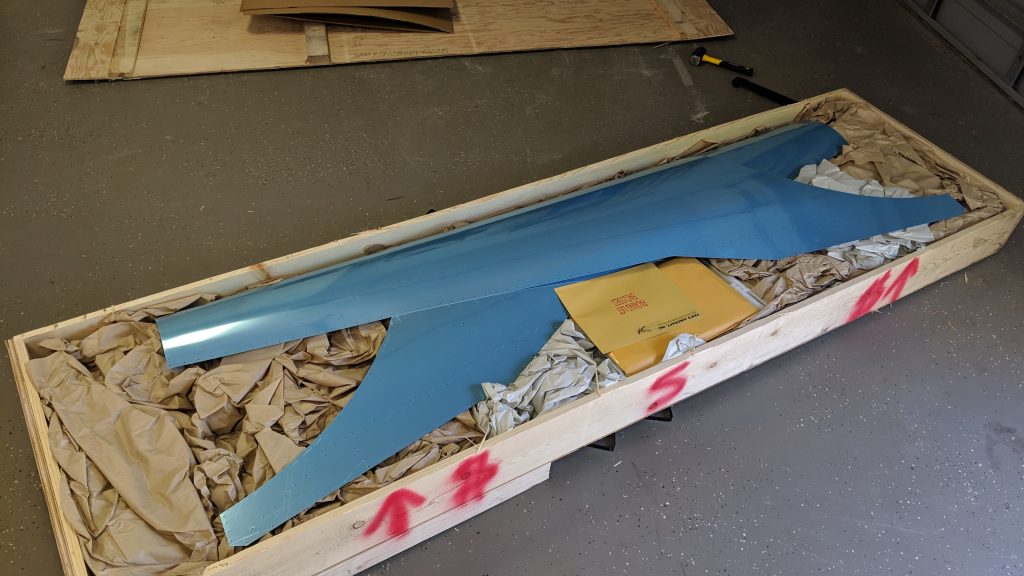
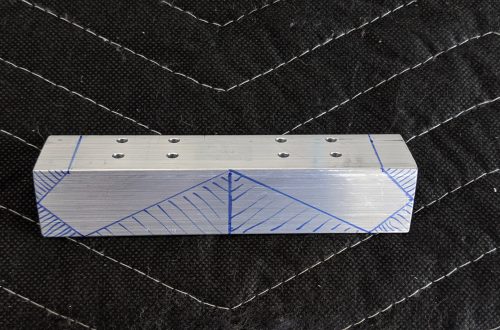
The empennage kit arrived today and man, oh man…das a lot of parts! Van’s really does an incredible job of packing a lot of parts and pieces into a relatively small 115″ crate, but I take minor issue with one detail about their packing method (I understand why they do it, but it made an imbecile out of me for much longer than it should have). Some pieces, like the vertical stabilizer skins, are already preformed so to keep them within the dimensions of the crate (and presumably to protect them from the other pieces in the crate) the edges were compressed and taped down with what I can only assume was some kind of voodoo gorilla strength tape. They could use this stuff to take the finish off anything! It took longer than I would like to admit to resort to cutting pieces free from the tape rather than attempting to pull the tape off and subsequently pulling off the protective plastic from the aluminum skins. Oh well, live and learn! When the crate arrived I couldn’t stand it…I had to pop the top and start the inventory!
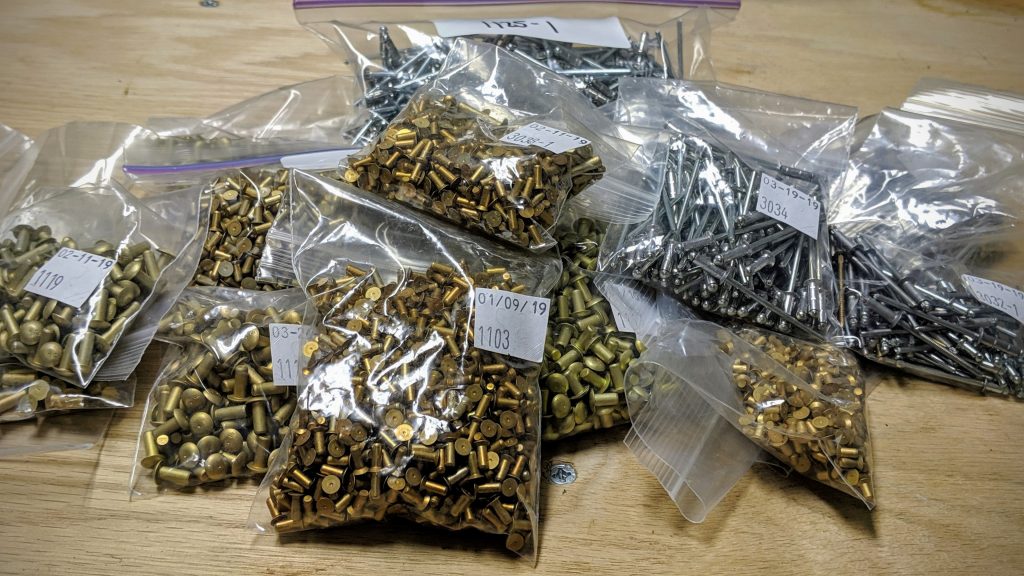
It took right at four hours to inventory and organize everything. All told, the crate contained 163 bags, parts, and pieces. Except for the bags of rivets, which were measured by the pound and not the number of rivets, the contents of every bag were examined, accounted-for, and organized. It was a job, but now I have peace of mind that every piece is there and undamaged.

For the individual bags of rivets, bushings, and other small hardware, I found it beneficial to organize them into these containers from Home Depot as they were inventoried.
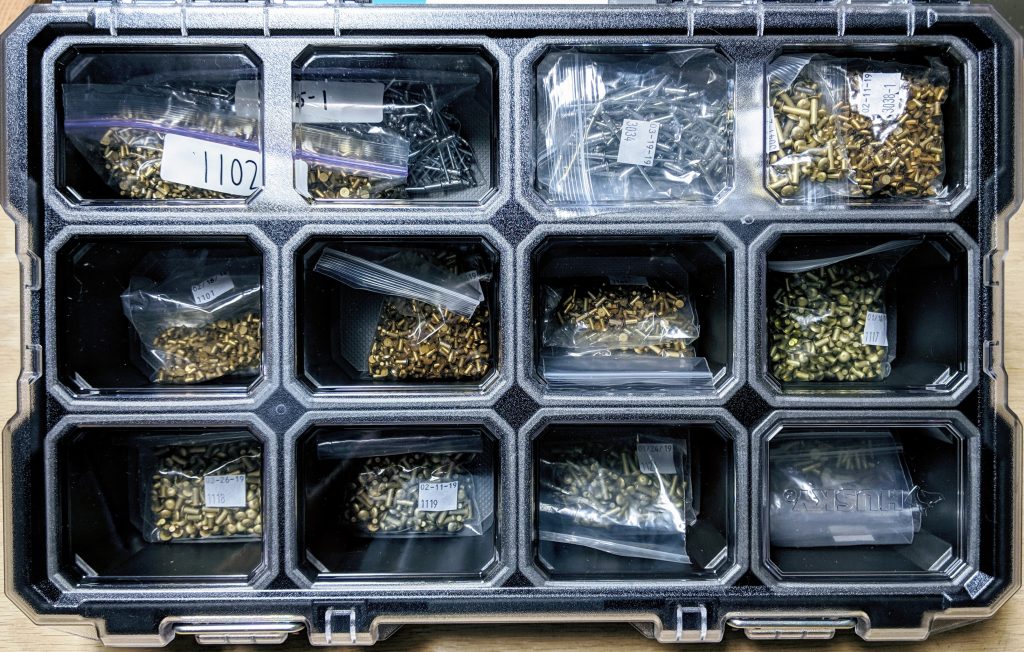
My initial thought was to put each bag into its own compartment, but some bags were just so small with so few parts that it seemed to be a waste of the container space so I ended up with a different strategy. From left to right, top to bottom (with the exception of the two large cups at the top) I put the bags in the cups in numerical order. When I ran into several bags that were small I just grouped them together in a cup. The hope is that, in doing so, I will be able to quickly find the bag I need by narrowing my search down to one or two storage cups. We’ll see how this works out in practice.
I still have some odds and ends to finish before I’m ready to start the build, like putting the top on one more work bench, finish the air drying system for the compressor, and order the tool kit from Cleveland Tool. But things are starting to fall in place and it’s almost time to get to work!


2 Comments
Greg from Van’s
Congrats and welcome to the builder family! That tape’s pretty strong but shipping can be rough. Better to have it get there in good shape! It’s common to cut the tape part rather than try to remove it from the vinyl.
You’ll live the Cleveland Tools kit. And the people there are the very best! They’ll have their booth right next to our at Oshkosh – hopefully we will see you there!
Have fun, it’s a pretty terrific lifestyle!!
Eric
Greg,
Thanks for commenting! My comment on the tape was meant to be light-hearted…I hope it came off that way. I certainly understand the reason for it, and it worked like a charm; non of the contents were damaged!
I’m so looking forward to starting this build!