Shop Setup: Air Compressor and Dryer
As have many other builders, I am choosing to build the majority of this RV-14A in my shop (otherwise known as my two-car garage) rather than a hangar. The reason for this decision is based largely on necessity and – to a lesser extent – serendipity. All of the hangars around Pensacola have waiting lists that are 50+ people long, require an active airplane registration, or both. That’s the necessity part of my decision. Having to build in my garage because there are no hangars available locally is serendipitous in that the airplane is never more than about 75′ away at all times; It will be far easier (and I hope far more encouraging) to walk a few feet into the garage than it would be to have to drive to a hangar every night to bang some rivets. Hopefully, this will encourage me to work on the plane a little bit each night. With the build location established, it’s time to start building out the work space!
I’ve heard that the complete RV-14A kit requires a staggering 20,499 rivets! While it doesn’t take a whole lot in the way of air compressor capacity to drive that many rivets over time, there are other considerations to take into account:
- I really don’t want to hear the compressor run constantly trying to keep up with my usage.
- Since I have to buy a new air compressor anyway, I will choose something that can be used for a variety of projects. This means a large tank, higher pressure, and high volume
- I may as well buy an air compressor that I can use to paint/stain small projects around the house.
With the above considerations in mind, and after a lot of research, I chose the Kobalt 60-gallon 240-volt compressor:
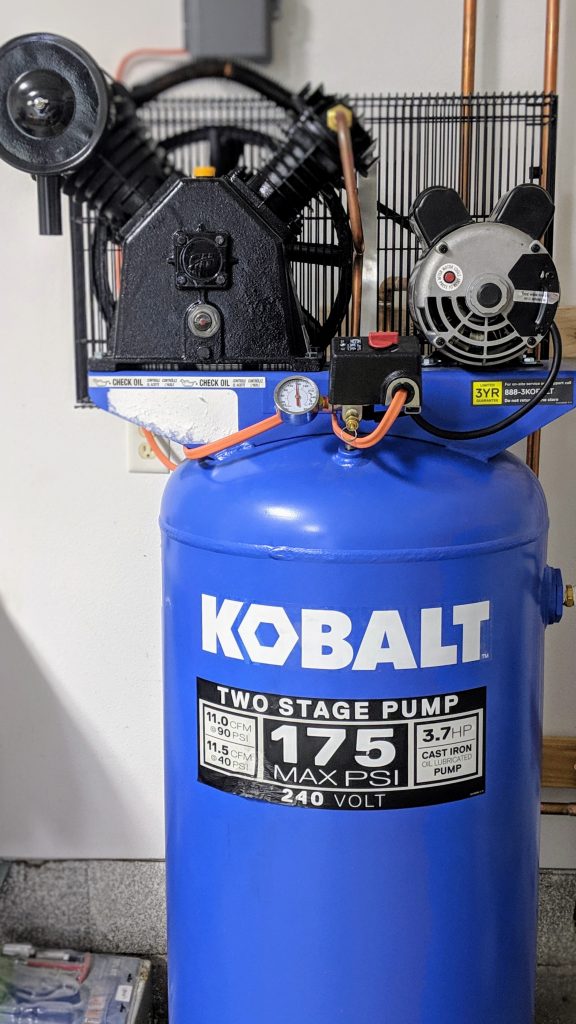
This compressor didn’t break the bank and has solid specs:
- 3.7 hp two-stage compressor
- 175 psi max pressure
- 11 scfm @ 90 psi (11.5 scfm @ 40 psi)
- 100% duty cycle
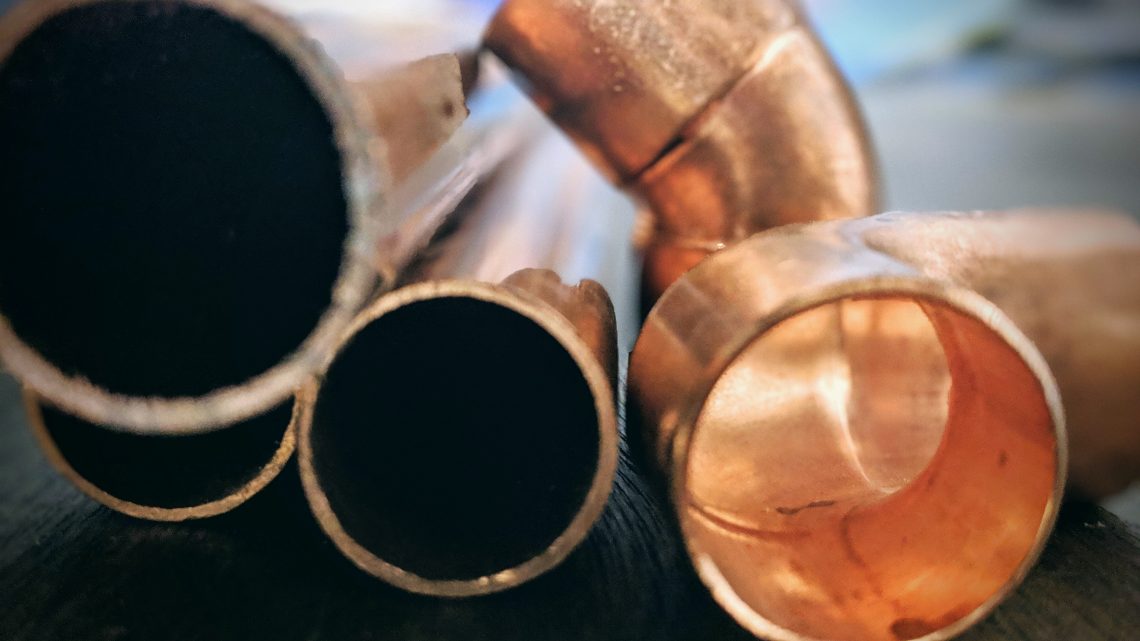
While the output of 11 scfm is pretty good, it still likely isn’t enough to handle the large job of painting an airplane so I’ll probably end up getting an HVLP system when the time comes. Either way, there is one constant in air tools, whether painting, riveting, grinding, or any other pneumatic activity: the need for dry air. Because of this, I set out to make an air drying system with copper pipe. Based on a co-worker’s setup, multiple online accounts from strangers with similar systems, and absolutely no mathematical deduction whatsoever on the conductive properties of copper I decided to go with the following system:

Overall, this is a 50′ length of copper separated into six 7′ vertical sections, seven 5″ horizontal sections, and two 3′ vertical sections on each side for the input and output of air. Each of the lower horizontal sections has a 3/4″ x 3/4″ x 1/2″ reduction tee with a 6″ length of 1/2″ copper pipe attached. At the end of the 1/2″ copper is a 1/2″ ball valve:
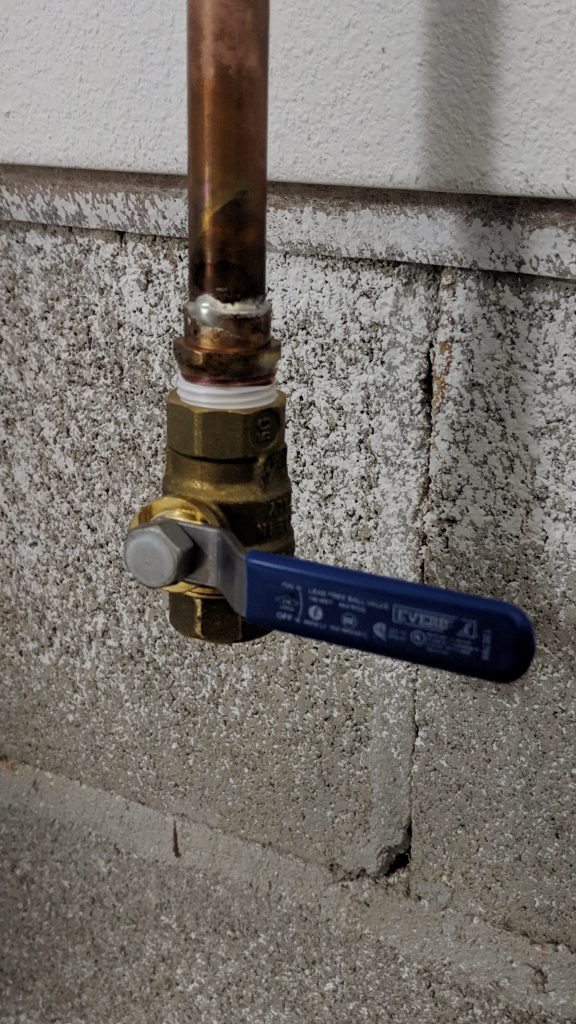
The 1/2″ sections with ball valves will serve as drip lines to collect moisture in the air. Purging each vale in succession from left to right should all but eliminate air in the line. At the output end of the line I will place an air filter/water separator as a final catch-all and a regulator before plumbing into a wall-mounted 3/8″ hose reel. For those interested, here is the list of items for the drying system above:
- 7 – 10′ x 3/4″ Type L copper pipe (Type L far exceeds the psi requirements for this project but it’s all Home Depot had at the time)
- 10 – 3/4″ 90° copper elbows
- 4 – 3/4″ x 3/4″ x 1/2″ copper reducing tees
- 1 – 2′ x 1/2″ Type L copper pipe
- 4 – 1/2″ copper male adapters
- 4 – 1/2″ ball valves
Using the 3′ scrap sections from the initial 7′ cuts will provide enough copper to make all seven horizontal sections. I cut that copper into 4″ sections so that the vertical sections are 5″ on center once joined with the 90° elbows. For the drip lines, I cut one 2′ section (this was pre-cut at Home Depot) into four 6″ sections.
Hopefully this will be of some use to someone out there. If you have any questions about the setup please post them in the comments and I’ll try to clarify!